Hi all,
So I joined a digital group and decided I would have ago as well. I chose Bing AI to start with and totally love how all these came out.. My first of many I hope.


I hope I have inspired to make great things
Hugs DOnna xx
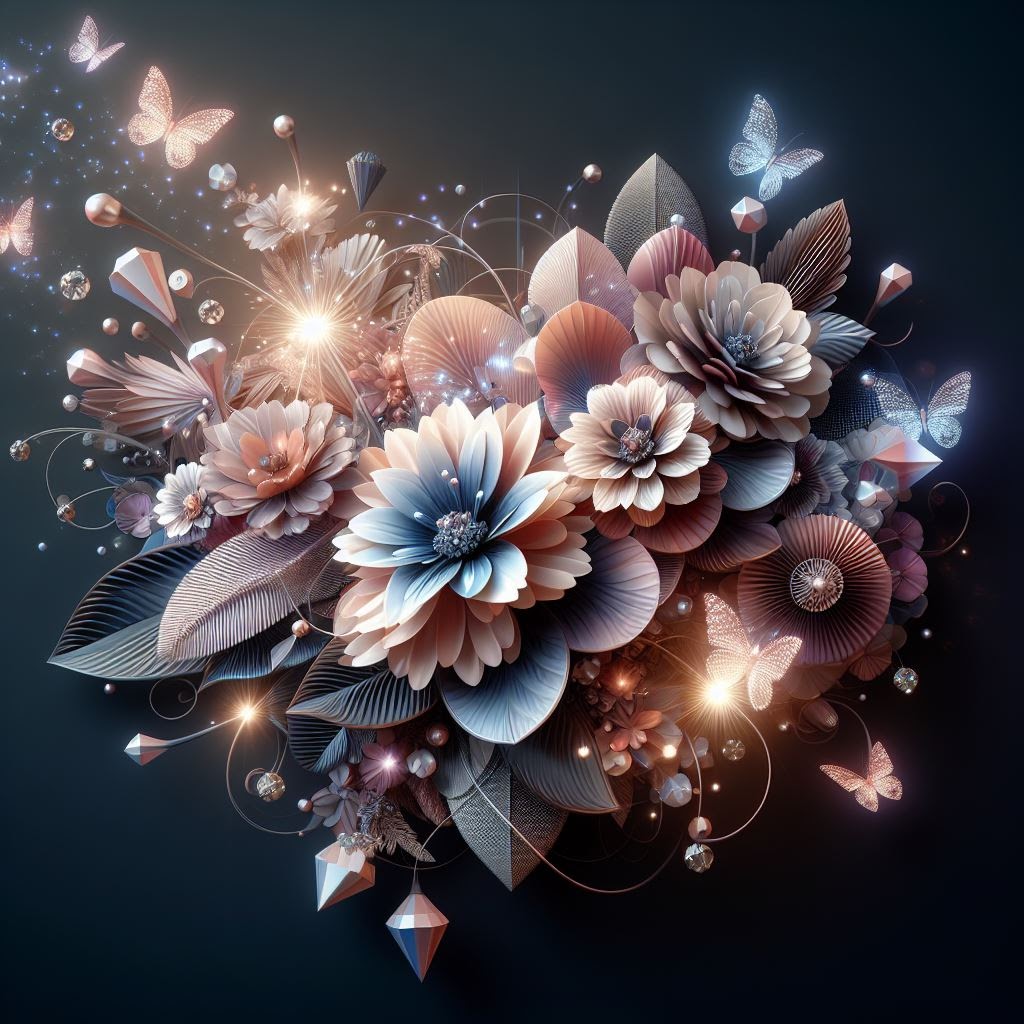
Hi all,
So I joined a digital group and decided I would have ago as well. I chose Bing AI to start with and totally love how all these came out.. My first of many I hope.
I hope I have inspired to make great things
Hugs DOnna xx
Hi all,
I am in a group on facebook that I totally love being on which is called Paper Clip Art
https://www.facebook.com/groups/paperclipart
We have a theme every month for people wanting to join in and if so you can swap with someone else after six months.. I have received so many gorgeous paper clip art pieces and what do I do with them you ask.. Why you can add them to any craft project you do or even bookmarks or gifts..


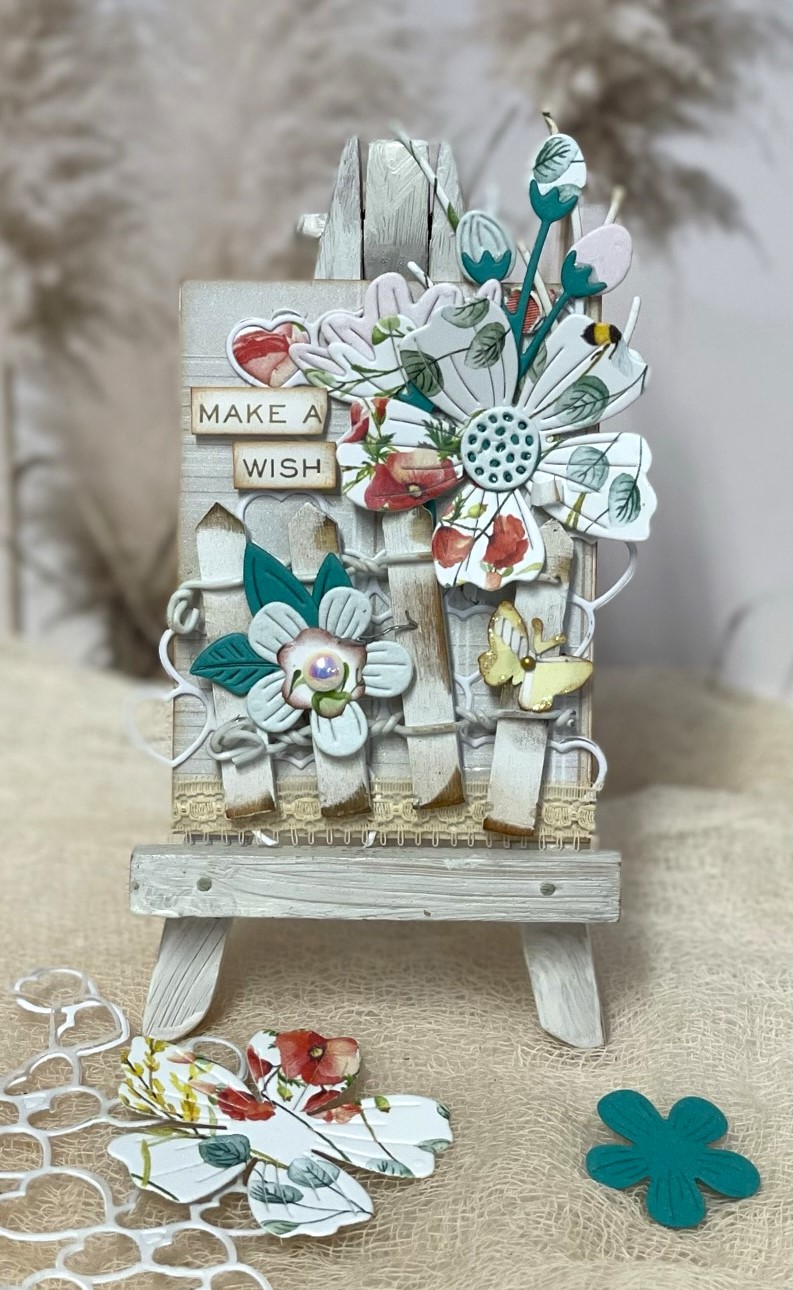


I hope I have inspired you
to create wonderful things.
Hugs Donna xx