
Window Card

Paper- Sweet Nothings – Kaiser Craft
Frilly Square #8 - Go Kreate Die
Tattered Floral Garden Die – Tim Holtz
Vintage Photo – Distress Ink
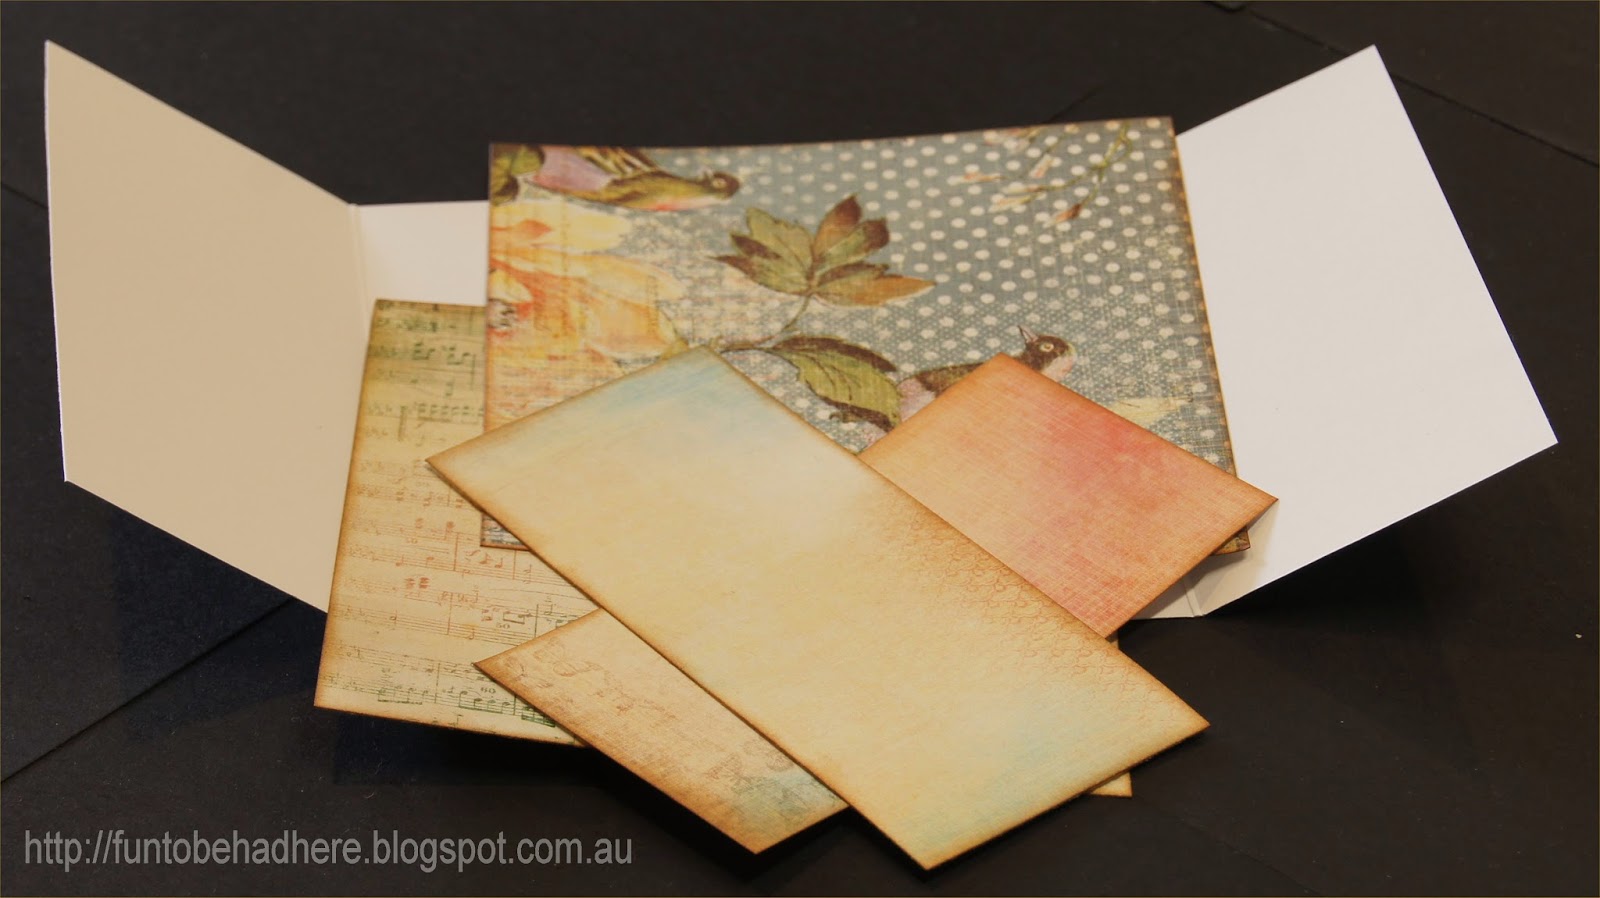
Cut 1 piece 10 inch x 5 inch cardstock -
Score @ 2 ½ inch , 7 ½ inch
Cut 1 piece 4 ¾ inch x 4 ¾ inch designer paper
Cut 1 piece 4 7/8 inch x 4 7/8 inch designer paper
Cut 2 pieces 4 7/8 inch x 2 ¼ inch designer paper
Tape die with the blade side up as shown.

Adhere the 2 pieces 4 7/8 inch x 2 ¼ inch designer paper to
the inside
of the card on the sides.
Place the 4 7/8 x 4
7/8 designer paper on top of the closed card
As shown below.. ( I use a small piece of temp tape in the centre
to hold in place )

Run it through the cutting machine

Cut the front designer paper in half then placing the die on
the cut area
Blade side down, trace around it with a pencil. Do this for
both pieces.

Cut around the area following the pencil line

Cut off approx 1/8 inch off each side of the white cardstock
(top and bottom)
Cut off approx 1/8 inch off each side of the designer paper
(top and bottom)
(this step is for the < v > centre pieces only)

Adhere all pieces to the card base..

Inside the card..

The finished card...

No comments:
Post a Comment
Hi,Thank you for looking at my page, I appreciate you doing so.. Hugs Donna x