
Enjoy the Journey...
Items needed:
A5 Card base
Cut 1piece of cardstock (plain) @ 5 3/4" x 3 7/8"
Cut 1piece of cardstock (patterned) @ 2 1/4" x 3 7/8"
Cut 1piece of cardstock (patterned) @ 1 1/2" x 3 7/8"
Cut 1piece of cardstock (patterned) @ 5 1/4" x 3 1/2"
Cut 1piece of cardstock (plain) @ 4" x 2 1/2"
Cut 1piece of cardstock @ (stamped image) 3 3/8" x 3"
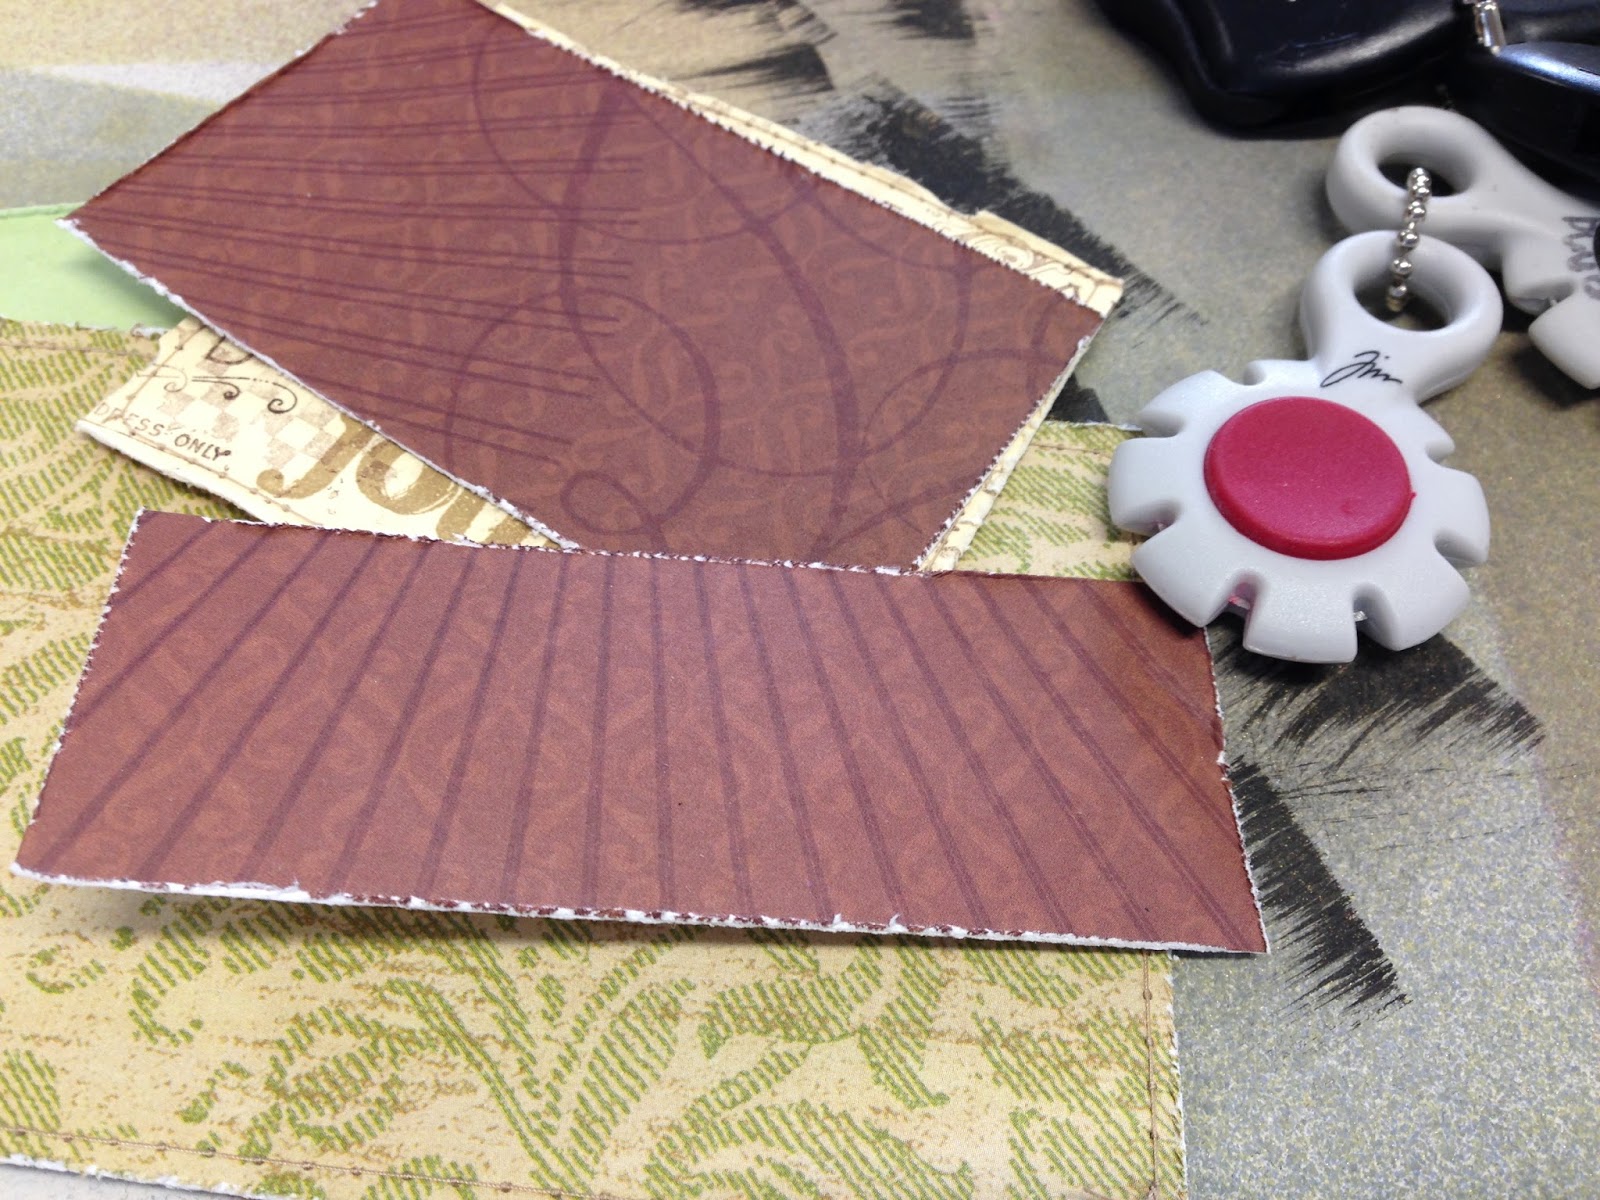
Cogs from Sizzix
Ribbon
Split pin
Stamps from Tim Holtz
Kit for card...

Step 1. Sew around the 5 1/4" x 3 1/2" and the stamped image.
Step 2. Distress all the papers including the 2 sewn pieces.
Step 3.Ink all the edges.

Step 4. Adhere papers as shown.

Step 5. Adhere cogs as shown ..

Step 6. Add ribbon and embellishments.
Step 7. Paint on dimensional glass paint on the two dots (from centre of cogs) and the pen nibs (stamped and fussy cut).

No comments:
Post a Comment
Hi,Thank you for looking at my page, I appreciate you doing so.. Hugs Donna x