Showing posts with label DT - Aunty Vera's Scrap and Craft. Show all posts

Friday, 18 June 2021

A Quick Tutorial on Gelli Printing with Acrylic Paint..AVSC

 Hi all, 

I thought I would show you a very quick tutorial on using a Gelli Plate with acrylic paint.. Now there are tons of ways to do this and there are tons of different techniques so I am showing you the basics ok.. (well my basics anyway lol). 

I have assorted Gelli Plates, stencils, stamps, rags, water, I use plastic spatulas but you can use a spoon or straight from the paint tube, a assorted of junk for textures. You can also use other mediums on the Gelli plates including distress inks just be careful that you don't use anything acid, permanent or abrasive on the Gelli Plates.


I place my Gelli plate on a piece of plain paper and have a scrap piece of paper next to it. You can also use a book like I did later.. 


I like a lot of paint on mine but you only have to add 4 - 6 of little drops paint for it to work.. My plate is a A4 size but I have lots of different sizes..


Using a brayer (by the way you can buy the brayers and Gelli plates from Aunty Vera Scrap and Craft shop) just bray over the paint until you are happy with it. I roll and lift my brayer then do the same until I am finished.


Place a piece of paper on the Gelli Plate and gently pull it off.. This is your first layer. You can leave it at this if you like it. I did this for some of mine.. 


Using different colours of paint.


As you can see it spreads quite a lot so just keep rolling until you are happy.


The Gelli Plate when all the above paint is rolled out on it.


I placed different stencils on the plate and gently rolled them with the brayer. Lift off and lay the stencils on some scrap paper to get another layer of patterned papers.
(a hint, I have a dish beside me that once I take off the excess paint I place the stencil straight in the water, cleans easy then).


I layered lots of lovely colours and used old bottle tops to give me some patterns in the paint.


I also had this old piece of mesh that I dabbed on the plate as well.


Voila, a patterned piece of paper..


I used old cardboard which I peeled the top layer back to use.


I used stamps, as well (just make sure you clean the stamps straight away).
A few papers I made.


With this one I did as normal, used stencils then waited until it dried on the Gelli plate. I then brayered over that with more paint and then used a stamp . I then lifted the print and must say I really like it.


I did the same here as above and love this one.


I have this art diary which I am going to cover with one of the above papers and thought why not use the same technique on some of the pages ..


Love this one and is one of my favourites.


This one was using the scraps of the paint on the stamps.


I used this stamp to pull a print off the Gelli plate and this is what was left on the stamp. brilliant..


Pretty isn't she..


You can purchase some of the items HERE

and check out the facebook group to see everything the Creative Team will be creating throughout January.
  

I hope I have inspired you
to create glorious things.
Hugs
Donna xx

My FaceBook page Donna's Fun Stuff HERE 
My Pinterest page Donmaree HERE
My Youtube Channel HERE

And don't to forget to say hi on Instagram donna.triffitt 

Saturday, 12 December 2020

Christmas Recipe Card Box - AVSC

 Hi all,

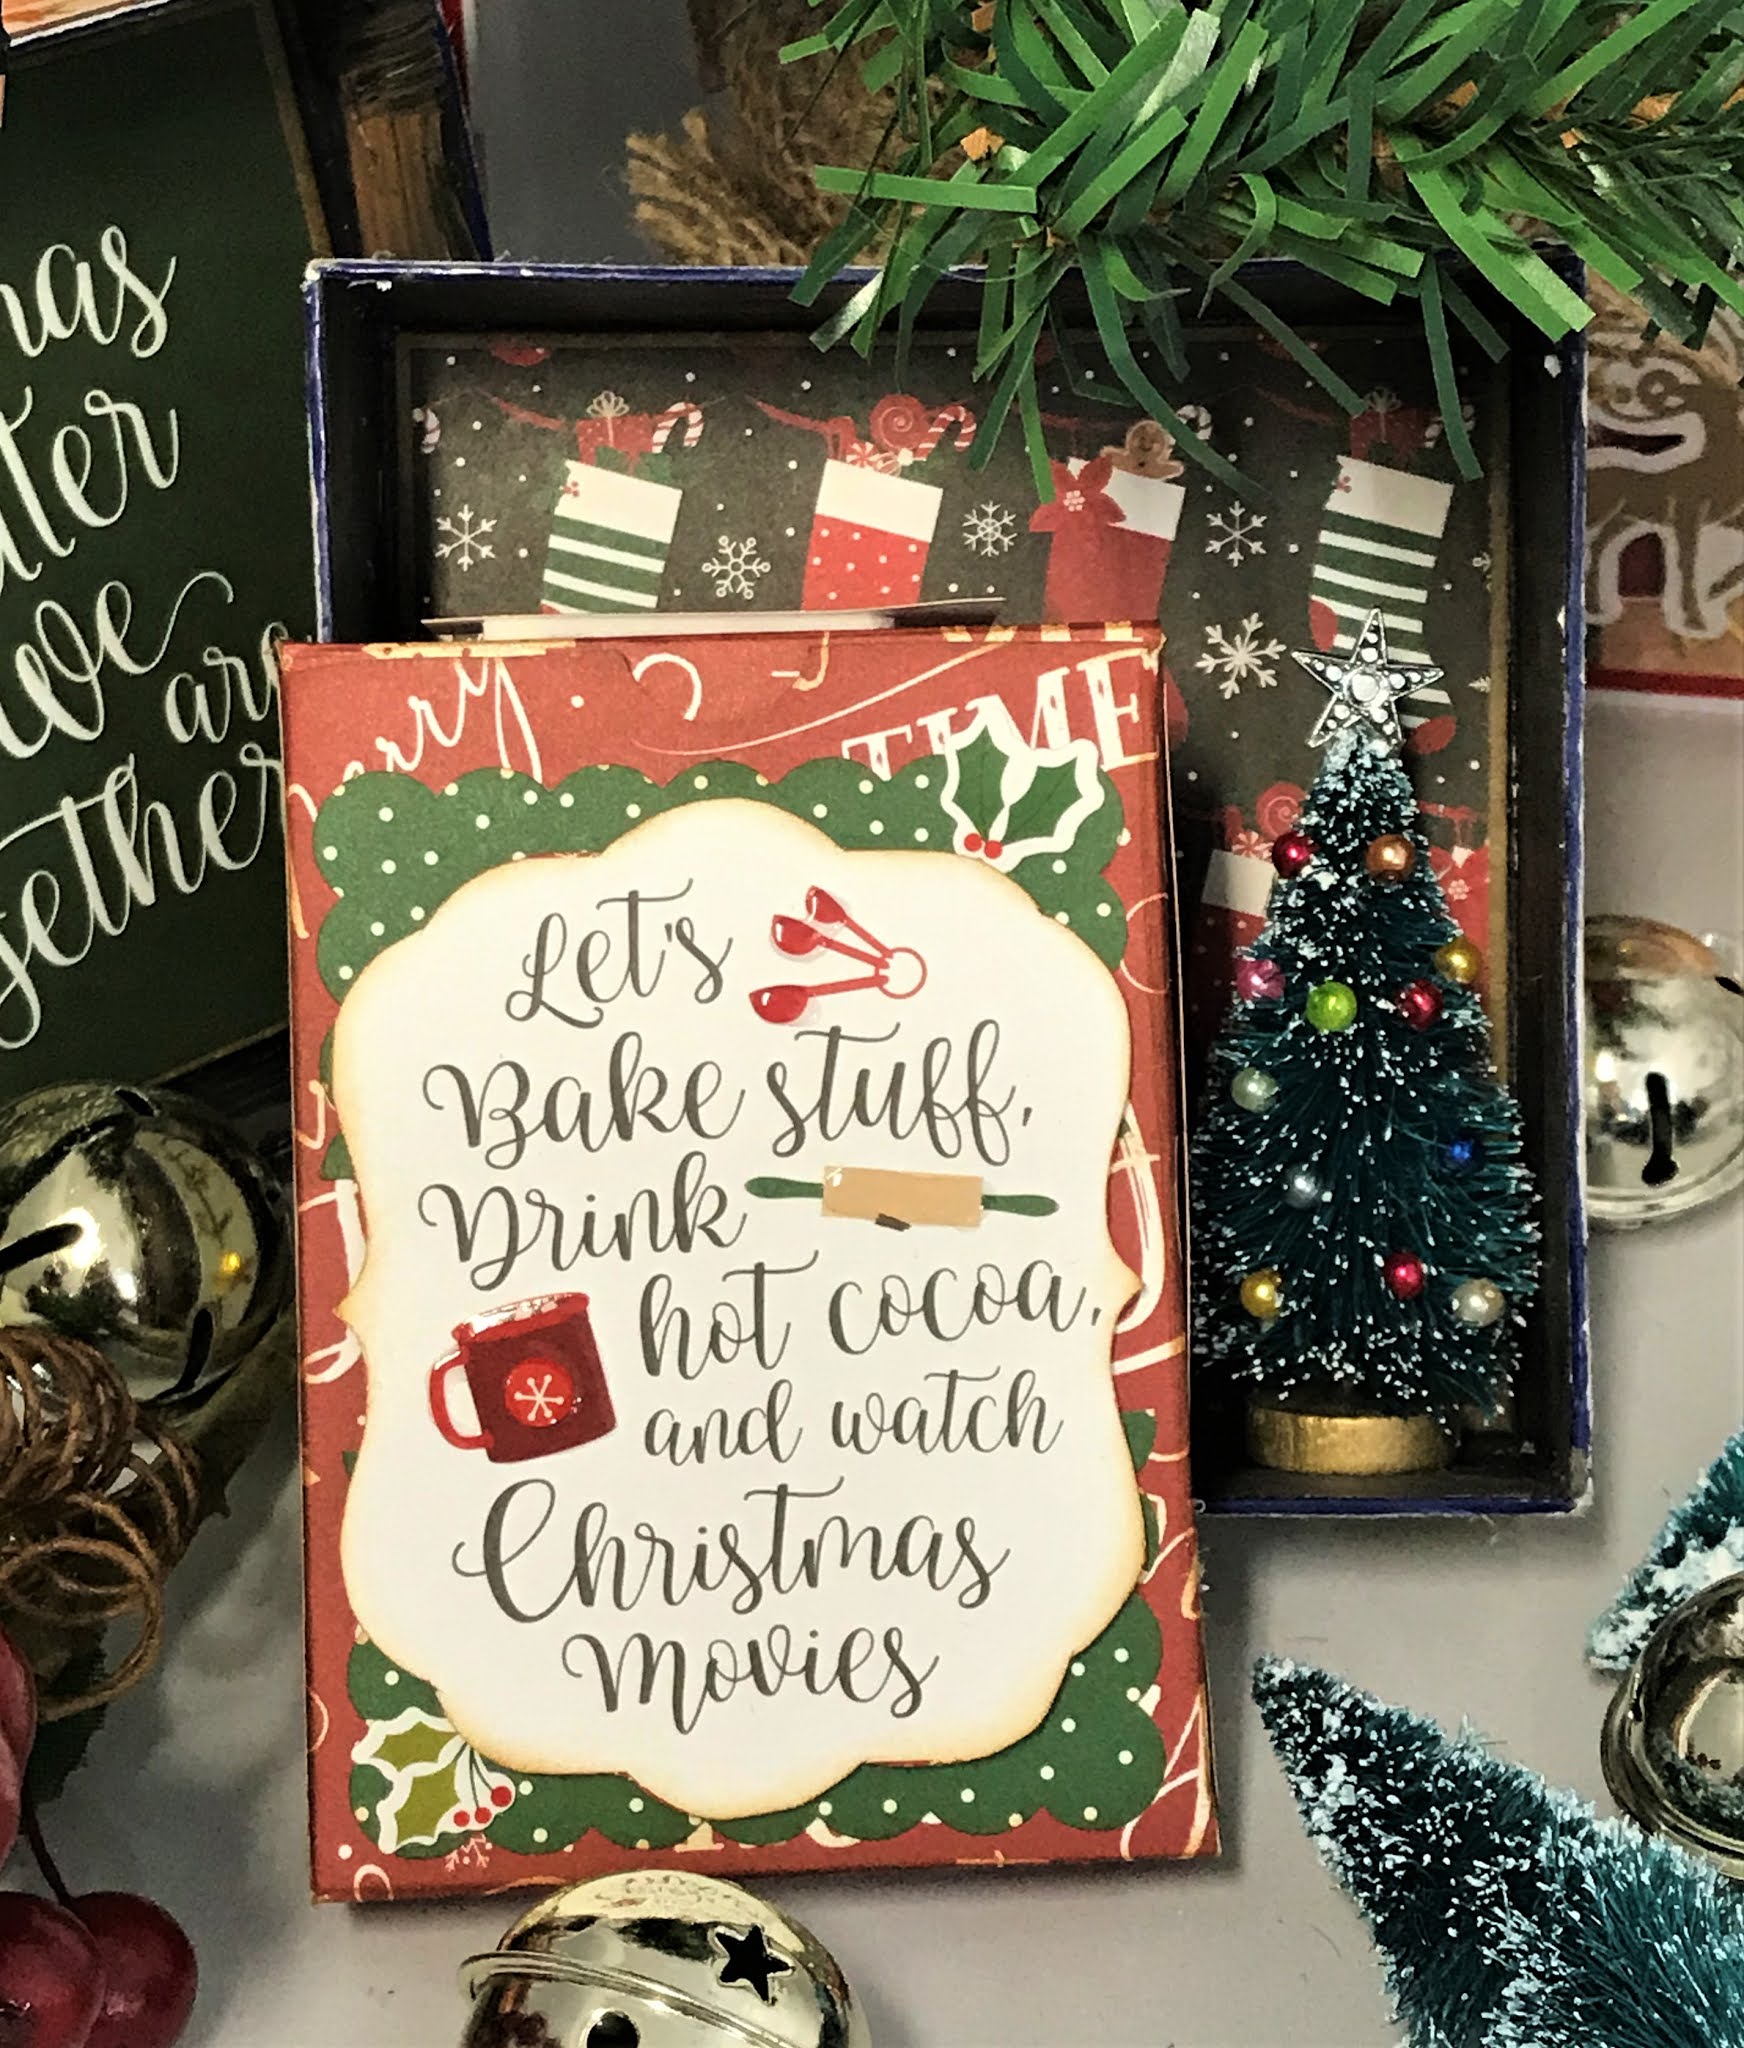
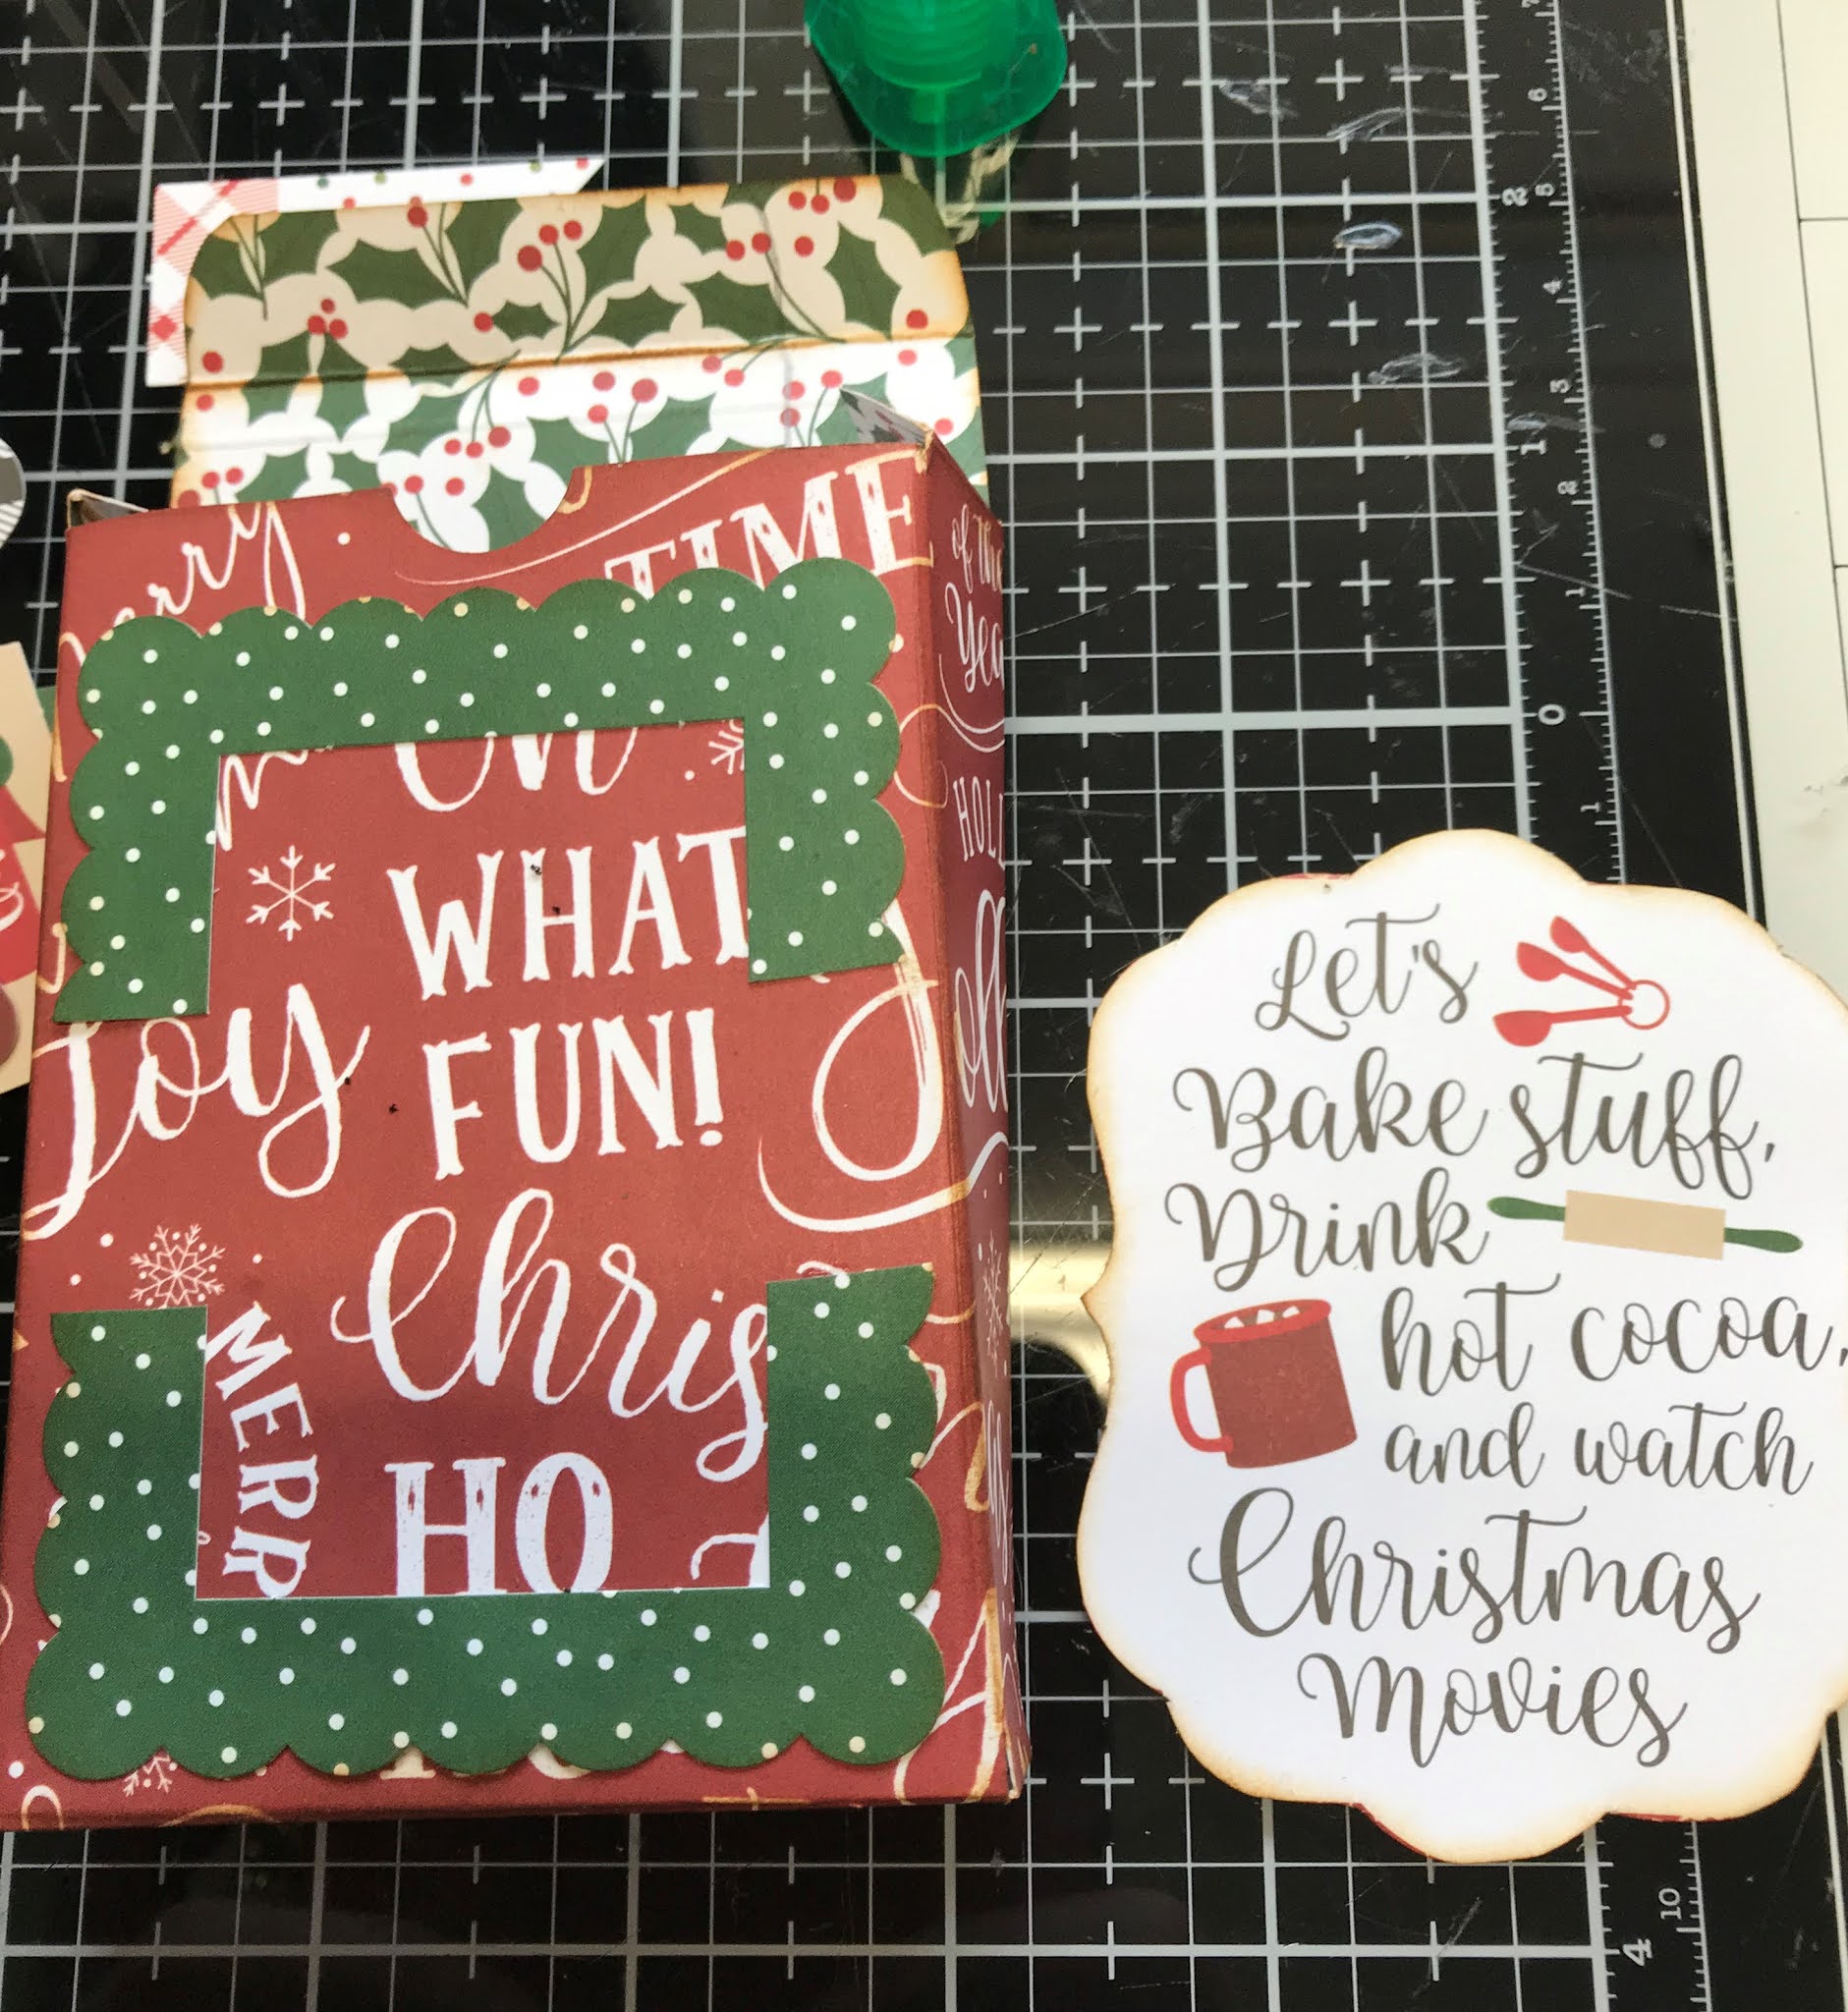
I created a set of recipes cards and box with the gorgeous papers from the the Gingerbread Christmas paper collection..  I cut a basic box shape from this fun paper and inked around the edges with vintage photo distress ink.. 


I cut the centre out of a Ephemera piece and cut it in half to adhere to the front of the box. I cut around the cup - apart 'lets bake stuff' and placed it on the frame with 3D foam tape. 


I brought these cards from our cheap shop and glued them back to back .


I painted a box that I have had for ages and decorated it using the stickers, cut -aparts and the name of the paper kit using 3D foam tape..  


Inside the box I placed a square piece of cardstock and added the finished box of recipe cards. I adhered a christmas tree inside the box with a metal star on top and little beads for decorations..


On top of the pack of cards I added a sticker .


I love how it turned out and by the way, I am so going to try some of these recipes..


Cards and box with Santa..


 Products are:

and check out the facebook group to see everything the Creative Team will be creating throughout December..
  

I hope I have inspired you
to create glorious things.
Hugs
Donna xx

My FaceBook page Donna's Fun Stuff HERE 
My Pinterest page Donmaree HERE
My Youtube Channel HERE

And don't to forget to say hi on Instagram donna.triffitt 

Tuesday, 1 December 2020

A Gingerbread Shaker Card - AVSC

 Hi all, 

How are we today? I have a little project to show you today that I created for 

the wonderful Aunty Vera and Craft.. 

This month in December we have a theme going called:

SANTA v's JESUS

I love shaker cards and while I made this I clean forgot to take all the steps of doing so lol..

(it is simply because I was talking I am sure lol)

I love this paper and I loved making this card heaps.


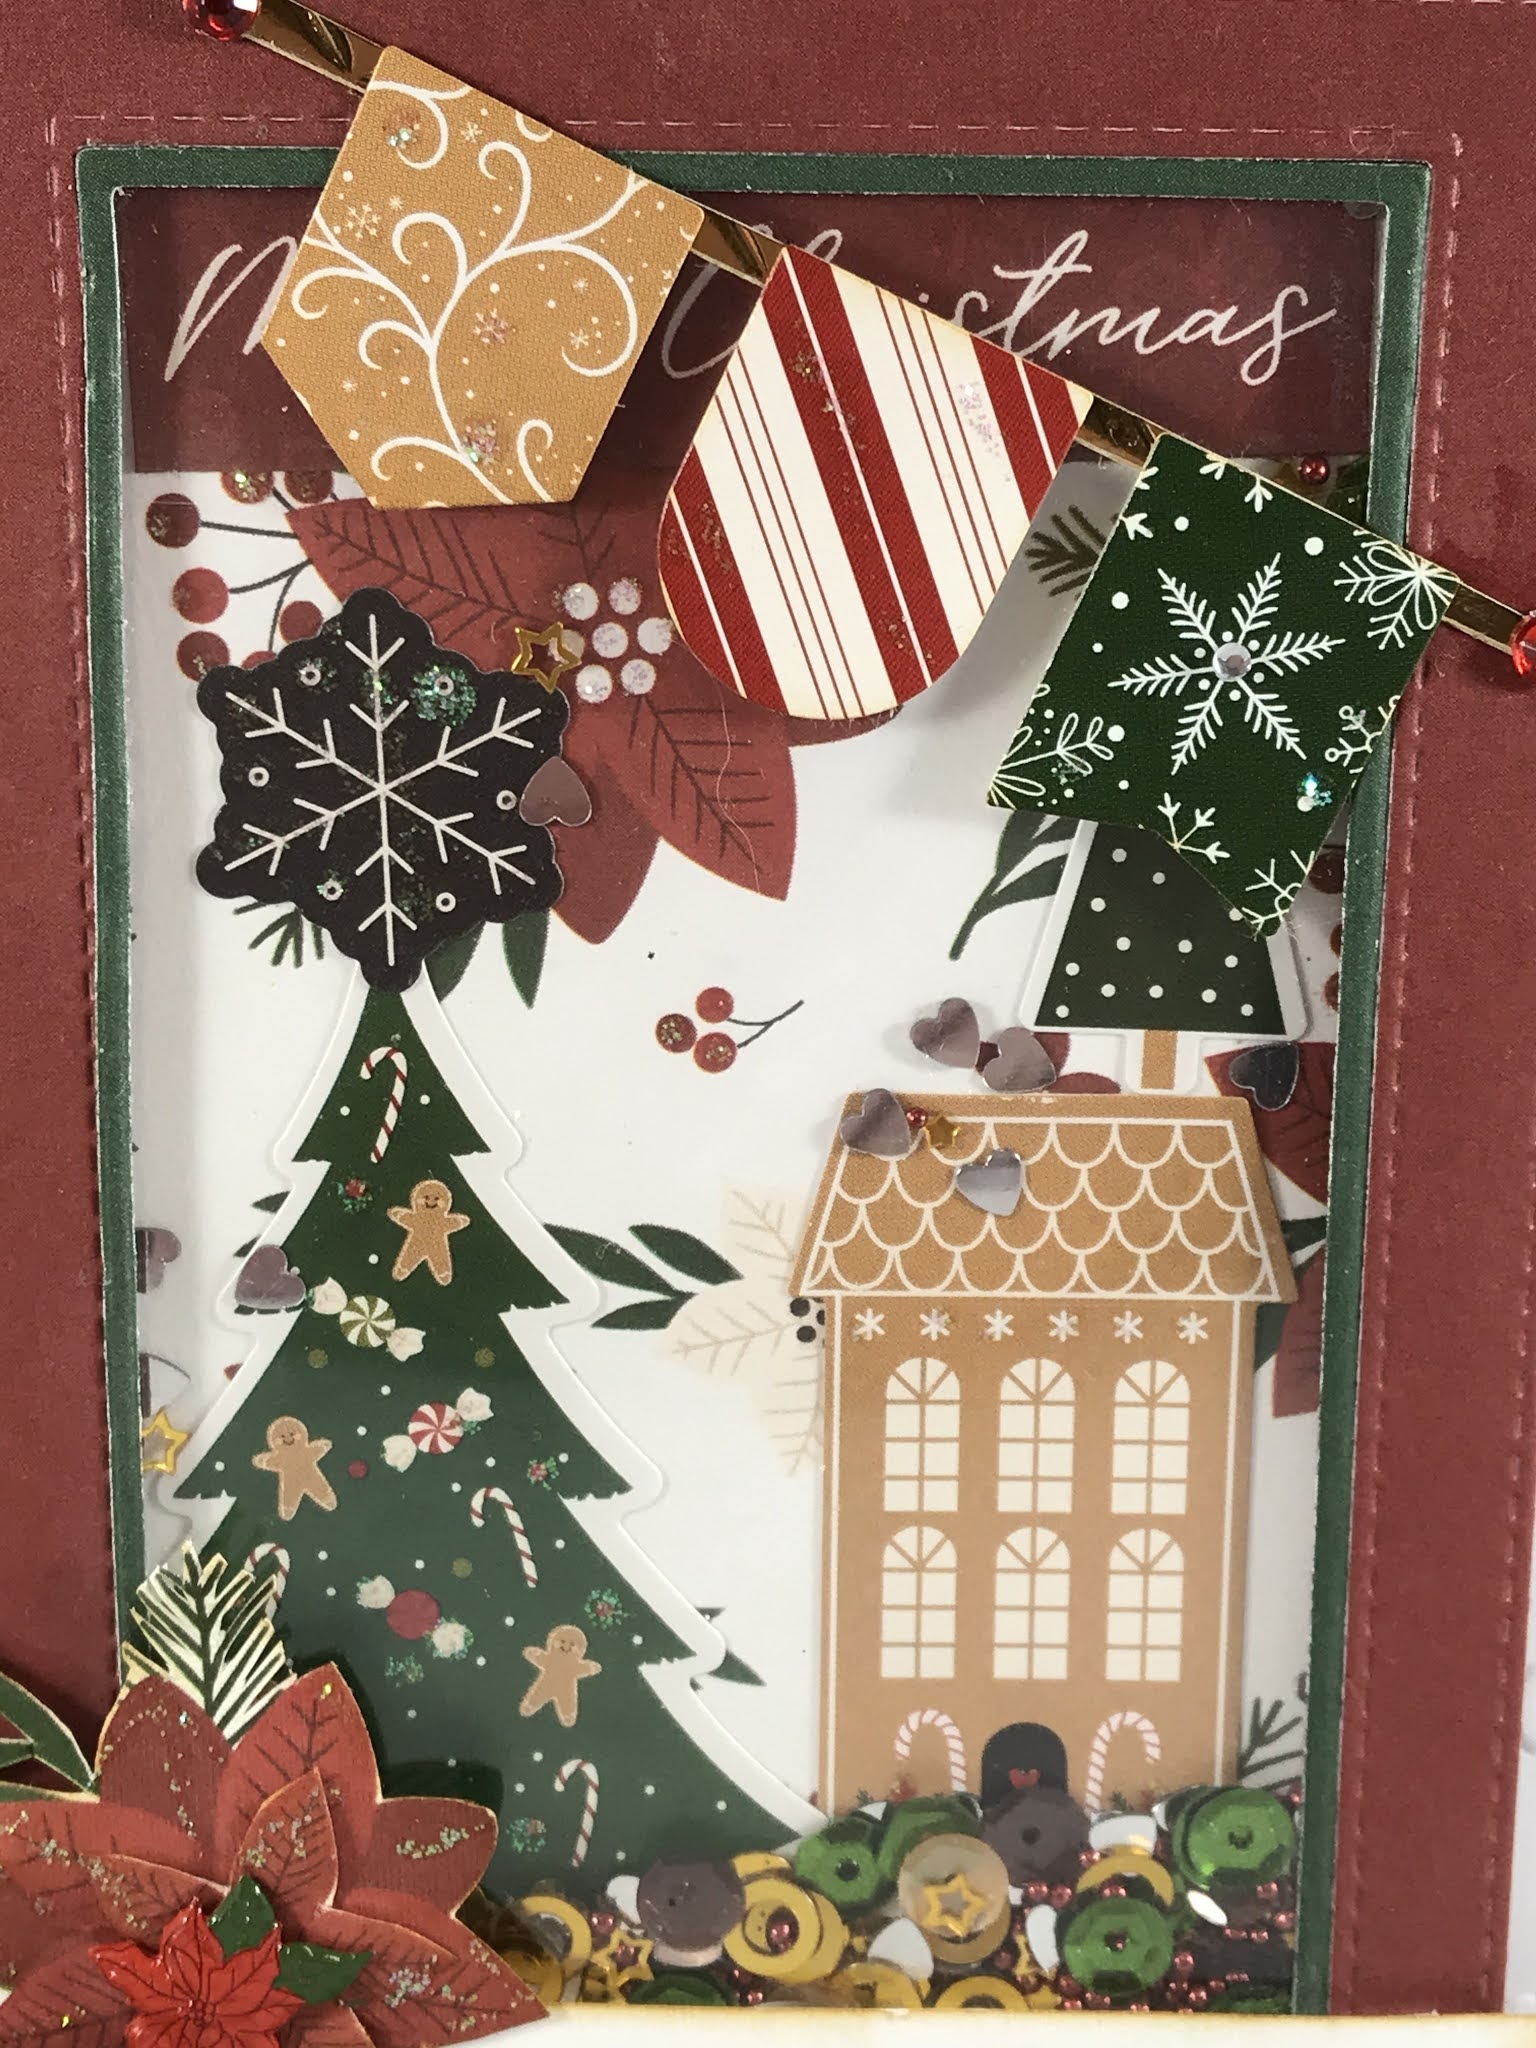
I used mostly the stickers on this project and have fallen in love with them.. I used 3D foam tape to pop them all up so it gave it dimension. I placed the banner on a scrap piece of paper..


I love the poinsettia paper and used this as a background. I fussy cut two poinsettia's from the paper and placed a brad in the centre..  The bottom banner is from the name of the paper pad and is usually for scrap, but I always use these for a part of the projects I do..  You cannot see it but I have added lots of sparkle and shine and in real life this card is gorgeous.. I framed it with a stitched rectangle frame from Paper Roses.  


 Products are:

and check out the facebook group to see everything the Creative Team will be creating throughout December..
  

I hope I have inspired you
to create glorious things.
Hugs
Donna xx

My FaceBook page Donna's Fun Stuff HERE 
My Pinterest page Donmaree HERE
My Youtube Channel HERE

And don't to forget to say hi on Instagram donna.triffitt 
Gingerbread House - AVSC

 Hi all,

This month in December we have a theme going called:

SANTA v's JESUS

I brought the Village Dwelling die by Tim Holtz -Sizzix  ages ago from Aunty Vera and thought the paper is all about Gingerbread so why not make a gingerbread house..

I Love love love the stencil I have in my kit and thought I would use it for the house and then paint over it or add cut out papers around it .. I used Aleen's Glitter Snow  over the stencil to give it a little glow. 

How brilliant did this turn out!!


I put it together and thought it needed something else. I inked around all the edges and place a little strip of red on the door step.


It still felt very flimsy so I cut out a frame from a cut apart and glued the frame on a painted 
 canvas I did earlier.


I added adhesive to the little stand and glued it to the canvas. I also glued the tree on the little stand and used a little fluff for the smoke.


I have to be honest I loved the house so much I didn't do any fussy cutting or place stickers anywhere.


I did add this sticker on the back only because it looked too bare.


I glued little balls in the tree for decorations and placed yellow cello paper on the windows.


Though I glued the base and tree down I wanted to place a battery candle in it so I left it as is..
How darn cute is this house!! 


 Products are:

and check out the facebook group to see everything the Creative Team will be creating throughout December..
  

I hope I have inspired you
to create glorious things.
Hugs
Donna xx

My FaceBook page Donna's Fun Stuff HERE 
My Pinterest page Donmaree HERE
My Youtube Channel HERE

And don't to forget to say hi on Instagram donna.triffitt