I wanted to create a card for you and what a better one than a shadow box card.
Cut two pieces of white cardstock at 6 1/4 inches x 5 1/2 inches, score at 1/2 inch and 1 inch on the longer sides as shown. Cut a circle out of the front piece then cut a smaller circle and adhere on the back of the front piece to give you a border. Add the back items on the second piece of cardstock. Place the seahorse on a piece of acetate and adhere that in-between the two pieces of cardstock where you hold the card. Adhere the card together as shown. Add a seagull with 3D foam tape and some ephemera on the front of the card as shown. Add two strips on the handle of the card as shown. This card is interactive as when you pull the handles the seahorses move. I have a video to show you how the card is put together and how it moves.. Enjoy...
Today I have created a very simple photo album using toilet rolls and the gorgeous Seaside Girl papers.. I love this collection.. A friend said to me "Donna I cannot make all the things you do because I don't have all the tools and equipment you have". SO this is for her using just papers, stickers and the ephemera set. I did use a couple of alcohol inks on the compass.
I used four toilet rolls and made tags to go in the rolls for journalling for the photos..
The mats measured 3 3/4 inches x 2 1/8 inch. A video gives you a look at the little album, I hope you like it and it is so easy to make that I am sure you could do heaps of these with what you have in your crafting space..
My turn on the blog today and I created a scrap page using the wonderful
Seaside Girl Collection
I love this collection and I have combined it with the brilliant Clear Casting Resin.
I distressed Papers 3 around the edges and placed it on top of Blue Diamonds cardstock.
I used a piece of the 6.5 x 6.5 paper pad behind the photo with a notecard from
the Seaside Girl Ephemera Set.
I added a cluster of diecuts from the Ephemera set and the Seahorses die.
With a fish and waves using the wonderful Clear Casting Resin and staining it with assorted Alcohol inks really enhanced the cluster.
Using dies I had in my stash from the Sea Breeze Collection seemed to bring a cohesion to the whole thing. I loved the pelican and placed him on a diecut fence with the poles from the Seaside Girl Ephemera set. The stamped and diecut anchor is sitting on a shell from the Ephemera set.
I plaited some string and added the banner on top with the 3D foam tape.. A frame on the photo and three seagulls from the Ephemera set on the top corner and it was finished.. This is so pretty.
Did you know that you can tint textured sand with alcohol ink?
And I love this Quick Dry Adhesive which made placing the sand on the photo so easy.
It's my turn on the blog today and I have a project for you that I hope you like..
Couture Creations have brought out some new products and a gorgeous paper collection called
Seaside Girl..
For this project I have concentrated on the wonderful Clear Casting Resin.
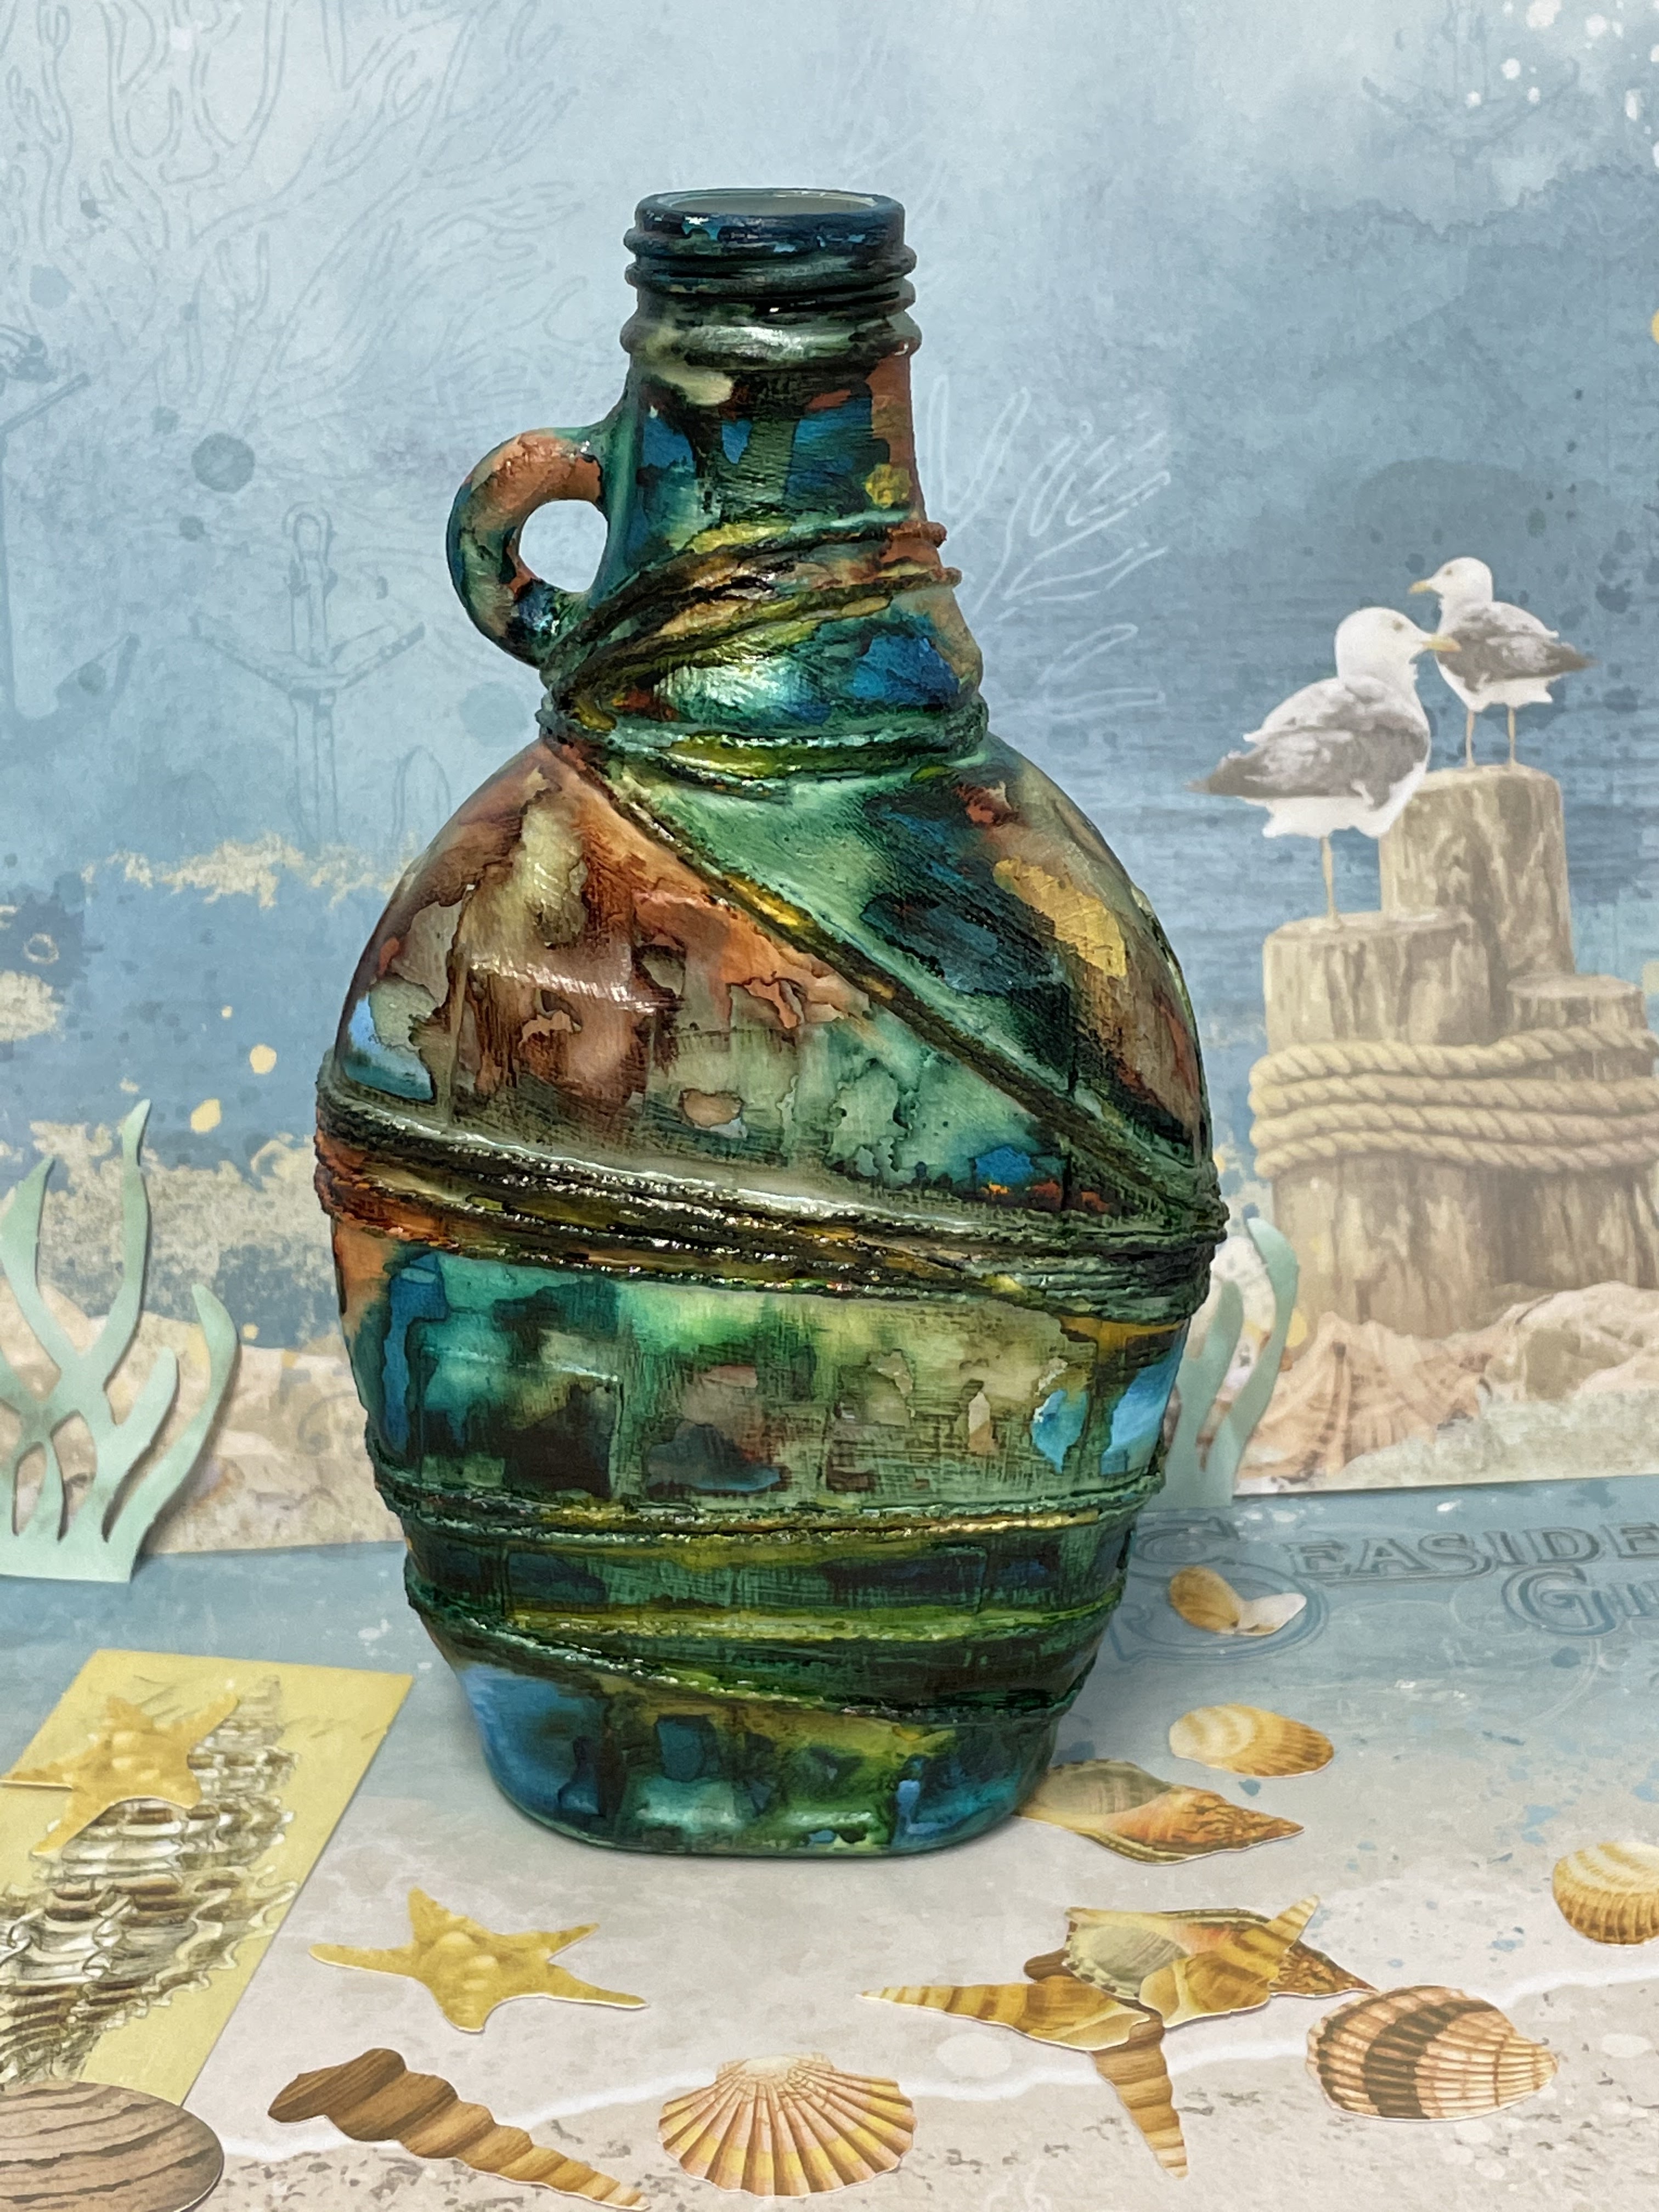
A look at how the bottle is in real time..
So here is my setup to try and see how it all works.. I used an assortment of moulds I had in my stash just to try which works the best with the resin and my favourites was the pink rubber ones as it came out clean and easy as.
I love this maple syrup and have it on lots of things especially bacon yumm.. I took the label of the bottle and cut little bits of squares but you could use what ever you like and I adhered them down with the Quick Adhesive glue.
I waited until the glue set then did two coats over the whole bottle with a mixed media base drying between coats.
I wrapped cord around the bottle adhering it with the quick drying glue.
The bottle and moulds ready to go..
Using several of the wonderful alcohol inks Pour over the bottle in sections.
I started with the Goldfish alcohol ink first and to be honest loved it straight away.
After all the inks were used this is what it turned out like..
I love it...
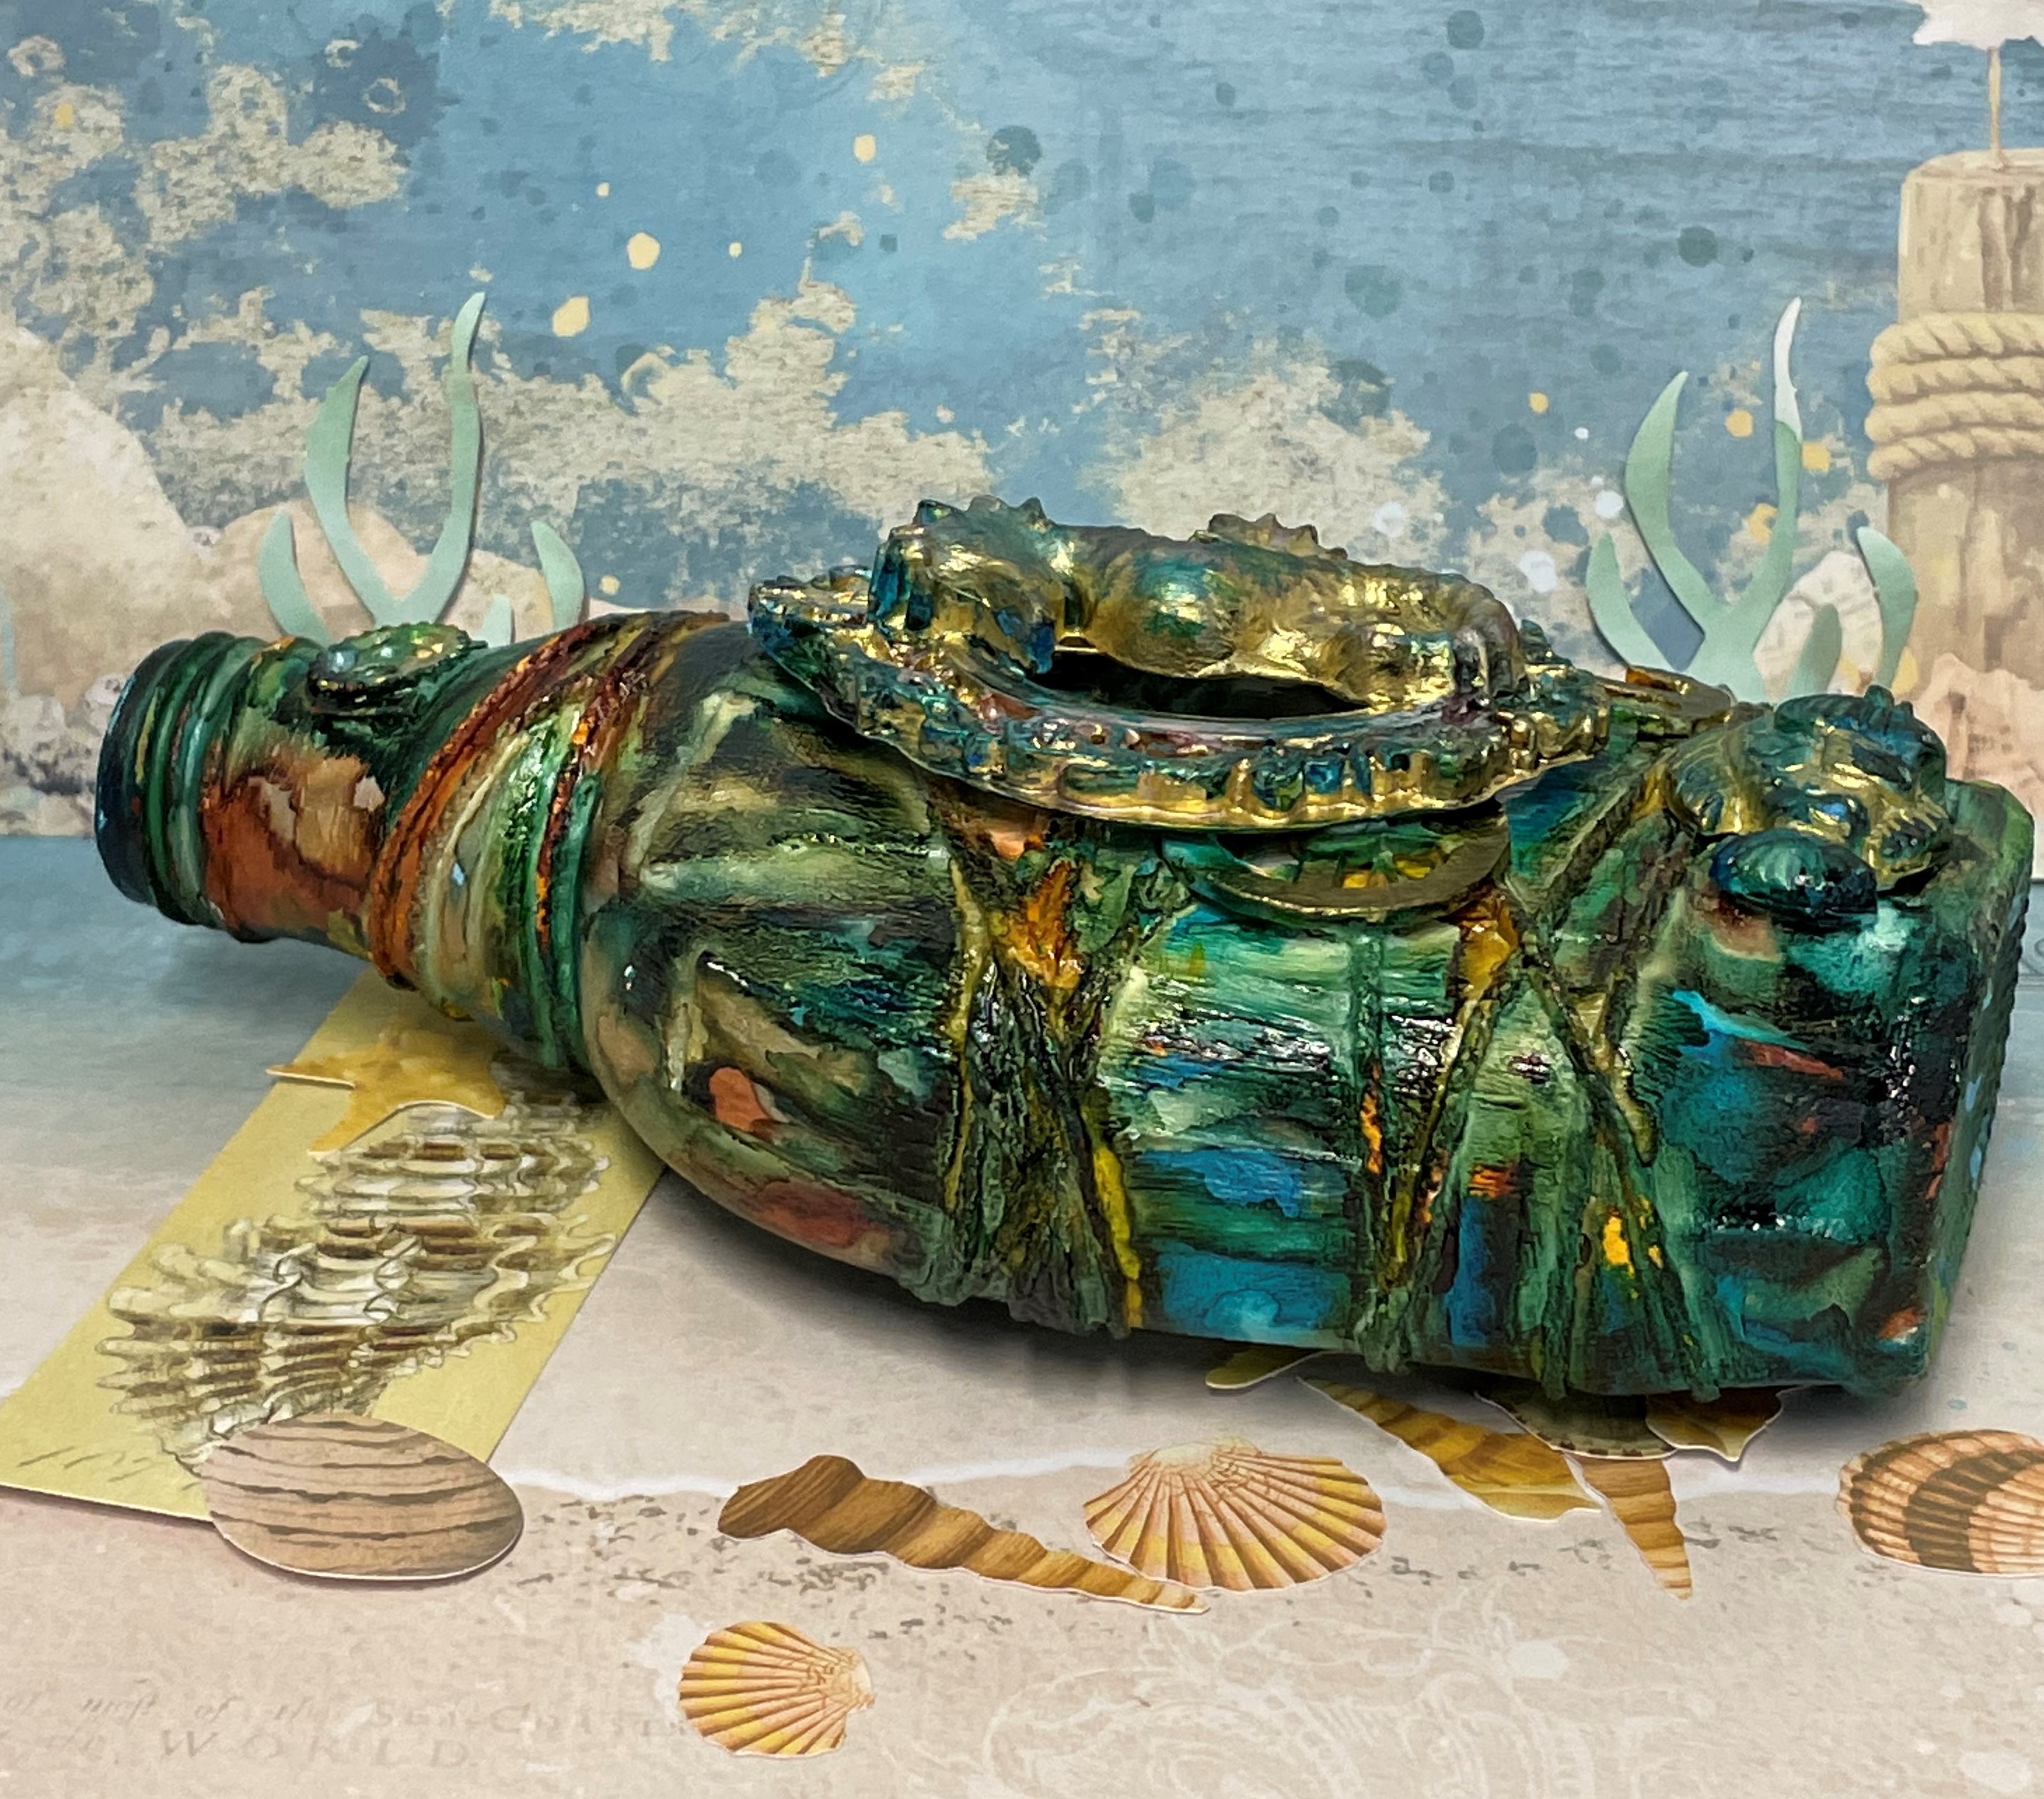
I wanted the Gold Pearl Alcohol ink to shine on the main focus, in this case the seahorse on the frame..
I used the Liquid Scrap Dots to hold up the seahorse and it worked a treat..
The fish was suppose to be in shades of blue and green but the gold ran and I liked it so much
I left it as is..
The sides and the back of the bottle.
You can see with this laying down, the depth of the resin shapes..
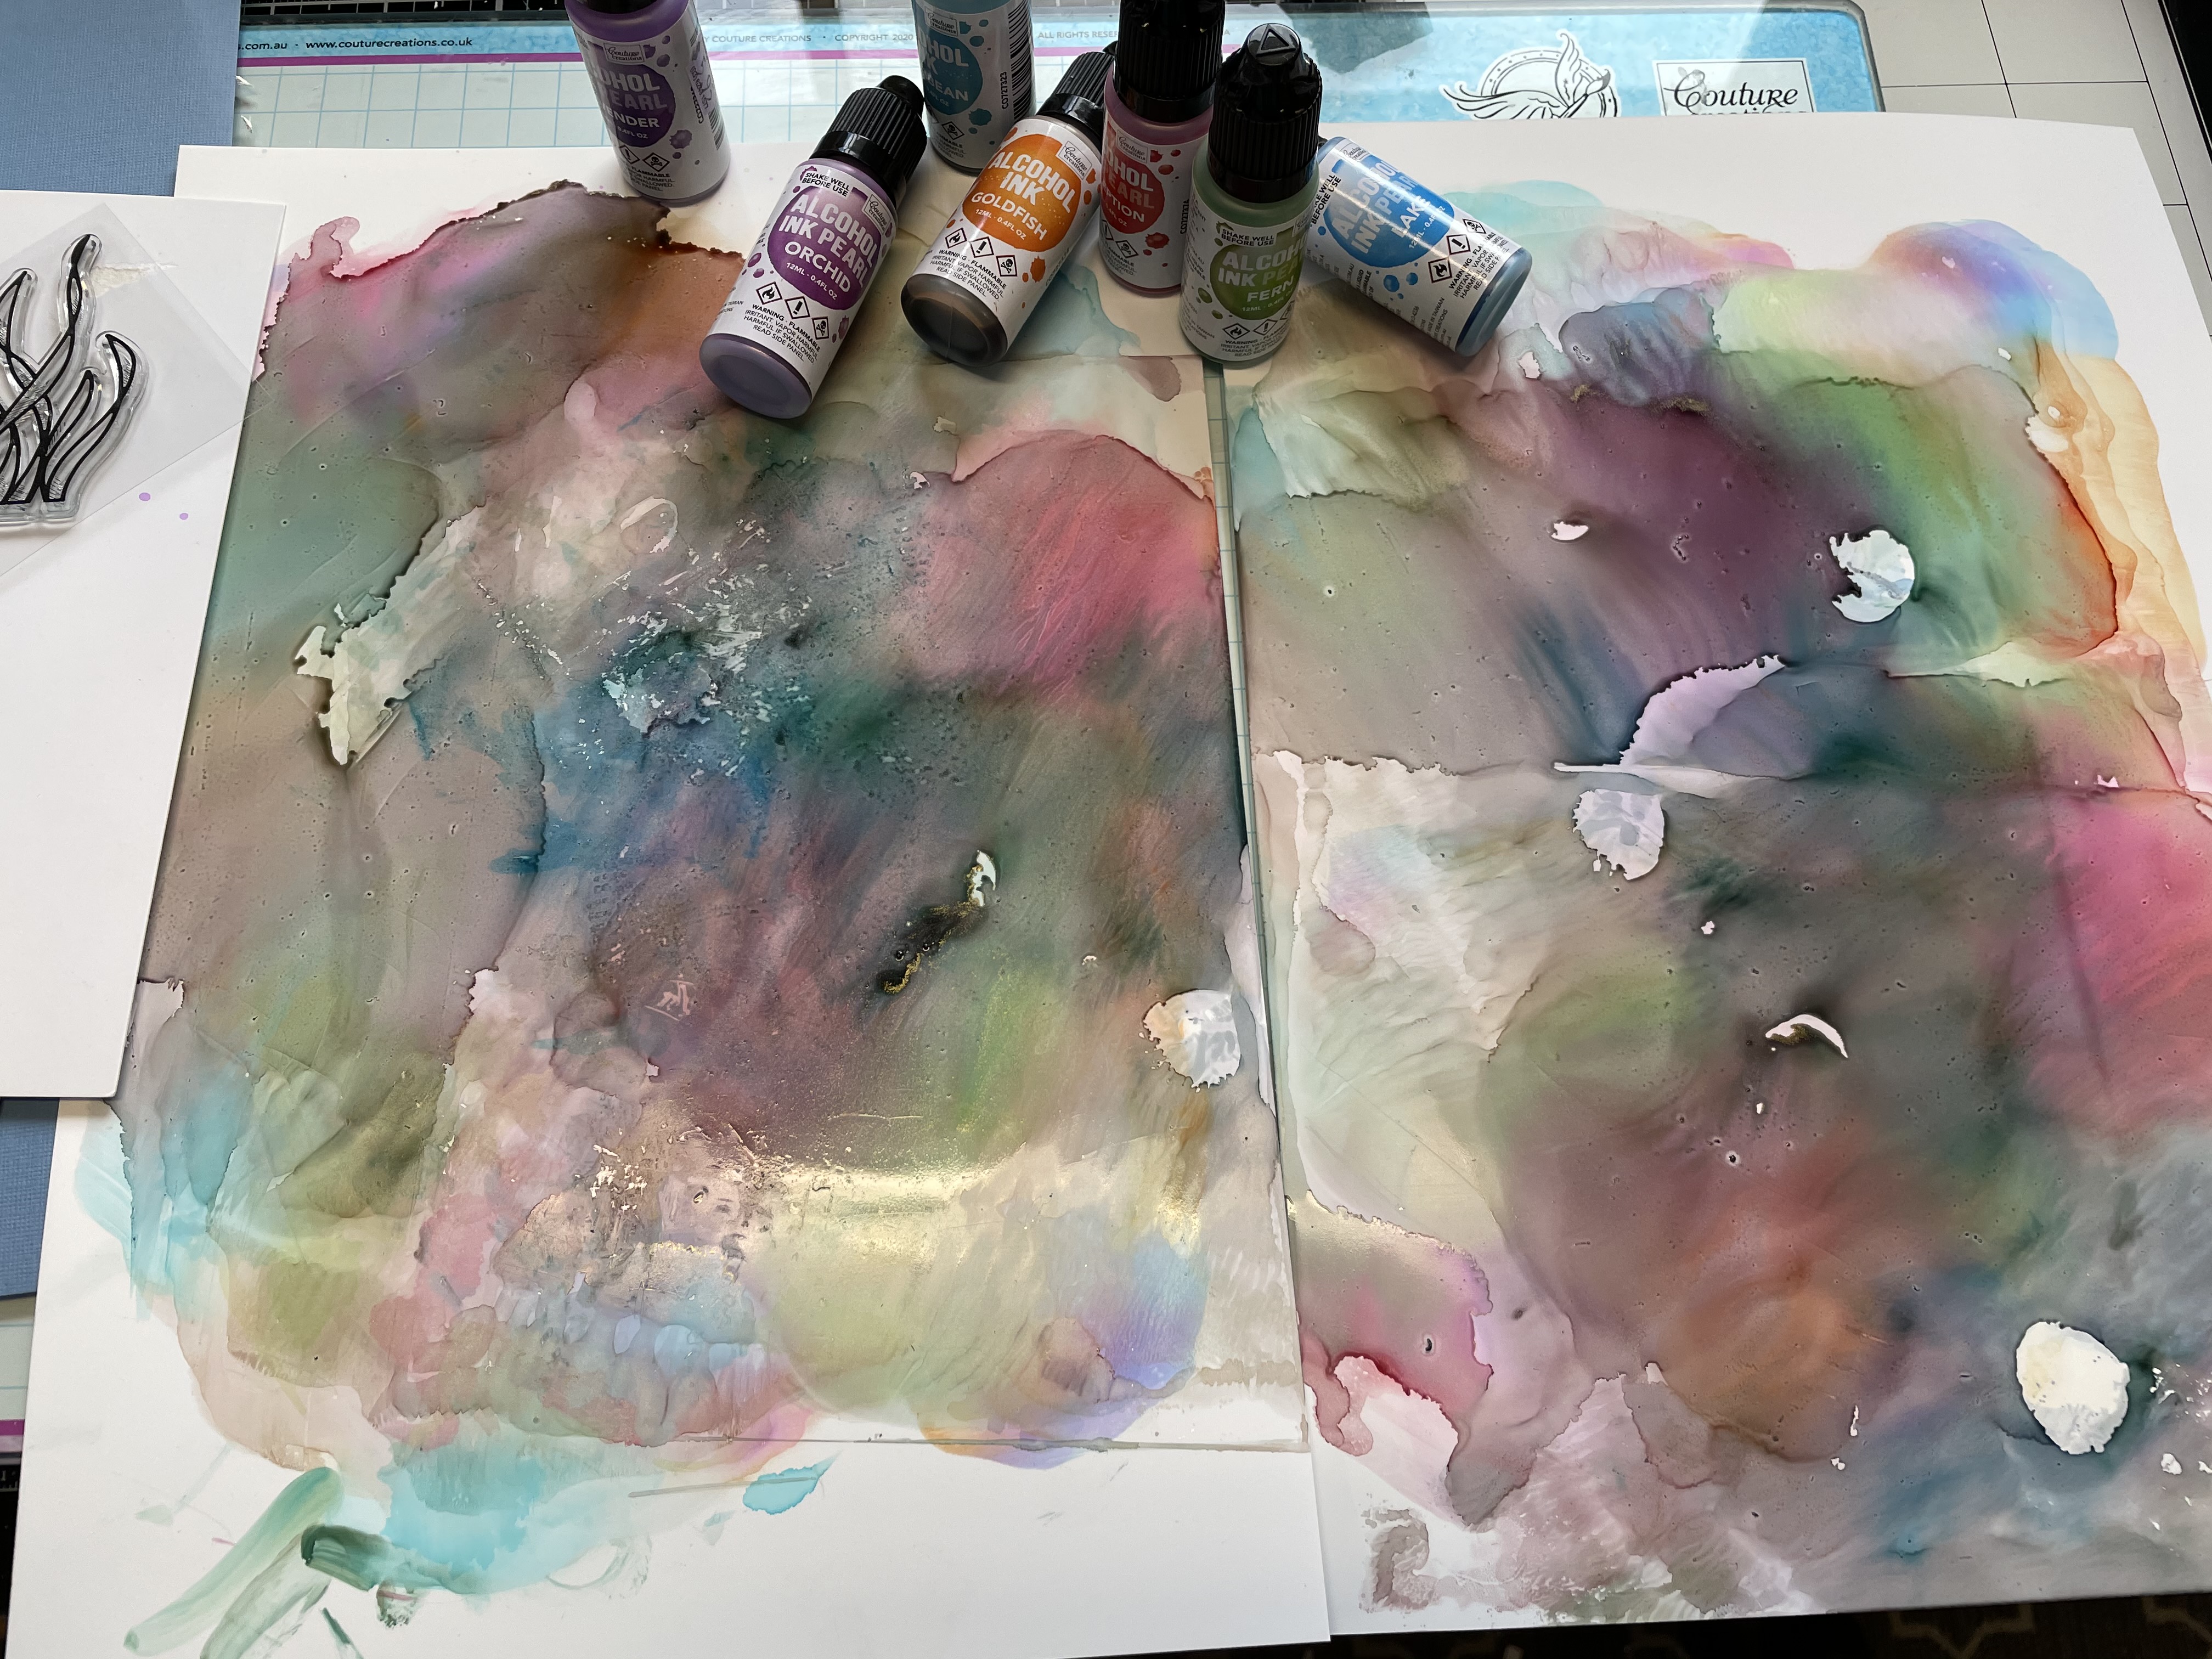
A bonus for me was the alcohol inks left over on pieces of Alcohol Ink Papers..