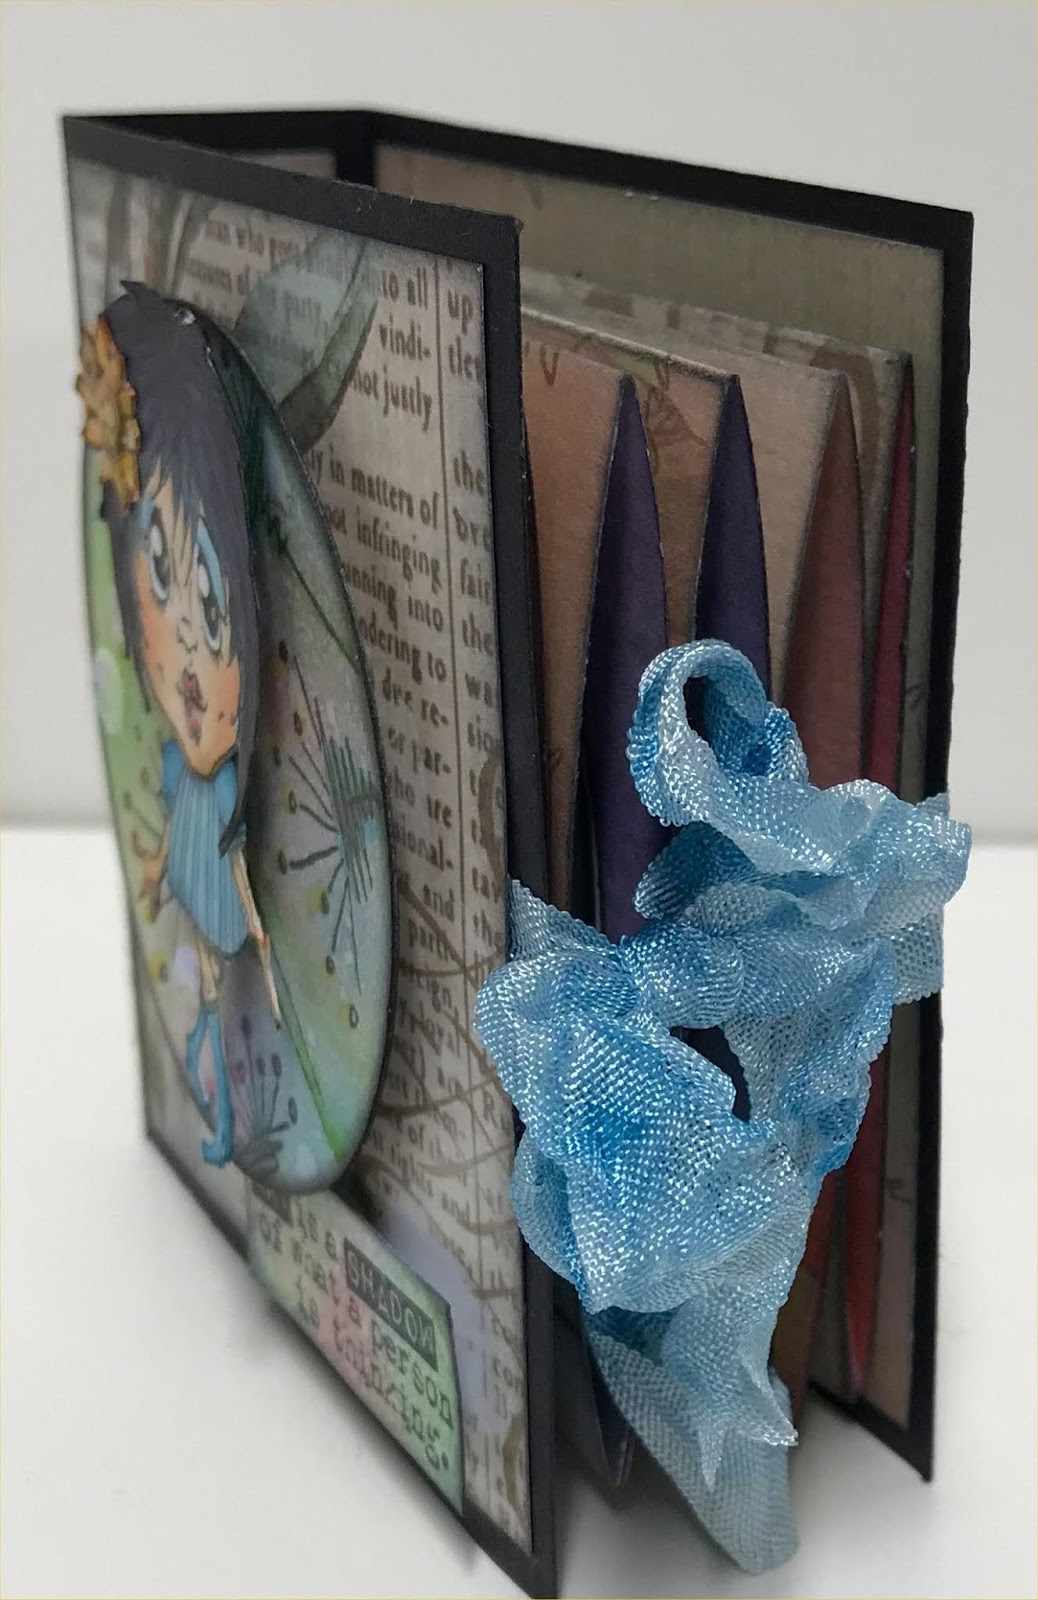
Showing posts with label digi stamps. Show all posts

Sunday, 2 July 2023

My Besties Aussie Challenge July

 Hi all,

For this month I have chose this gorgeous young lady from My Besties.. GO to the My Besties Aussie Challenge blog to see all the fantastic cards from the design team... 

 My Besties Aussie Challenge


Go to the shop and check out all the gorgeous digital stamps from My Besties.. 

https://www.mybestiesshop.com/store/c1/Featured_Products.html


 I hope I have inspired you

to create glorious things
Hugs
Donna xx

Tuesday, 2 November 2021

The Sweetest Christmas - My Bestie Aussie Challenge

Hi all, 

Don't you just love the digi image from Sherri Baldy Winter Now Globe Bestie Doll 6.

Coloured with Copic Markers and fussy cut and added to some gorgeous paper, this card turned our wonderfully.. 


 Don't forget to check out My Besties Aussie Challenge Here

to see all the wonderful cards the Design Team of My Besties are creating..
You can purchase her HERE
Check out my facebook page and say hi while you are there.. CRAFT MAKING

I hope I have inspired you
to create glorious things..
Hugs
Donna xxx

Materials:  
The Sweetest Christmas Papers - Mintay
Assorted Copic Markers
Gold bling and Pearls
Dimension Magic 
Kindy Glitz
Tombow Glue

Sunday, 3 October 2021

You Are My Bestie - My Bestie Aussie Challenge

 Hi all,

I adore this image from My Besties, she is sooooo cute and I loved making this card.. I used watercolour paper and Distress Inks to colour her in with little bits of Kindy Glitz on the mushroom and Dimensional Magic on the hearts.


I was going to colour the basket blue but my hubby was talking to me so it became greenish brown lol. So I coloured her hair blue instead. 


Don't forget to check out My Besties Aussie Challenge Here

to see all the wonderful cards the Design Team of My Besties are creating..
You can purchase her HERE
Check out my facebook page and say hi while you are there.. CRAFT MAKING

I hope I have inspired you
to create glorious things..
Hugs
Donna xxx

Materials:  
Scallop die
Heart Stack Die - Paper Roses
Jack & Jill Paper Stack - Prima Marketing
Banner Die - La La Land
Doohickey dies
Sentiment - SO Extra White - Paper Roses
Victorian Velvet , Vintage Photo, Aged Mahogany, Tumbled Glass Distress Inks
Dimension Magic 
Kindy Glitz
Tombow Glue

Sunday, 1 March 2020

Exciting News and A Brand New Project.. Ephemoire

Hi all,
I have some exciting news, I have been selected to be on the design team for Ephemoire which is a digital art group.. link here:  Ephemoire  
I am totally stoked to be working along side the talented group Traci has designing for her..

For my first project I am using the Printable Journal Kit - St Patrick's Day Shamrocks - 5x7 Papers - Irish Eyes - Journal Insert - Collage - Journaling - Scrap - Junk Journal .. This kit really has a lot of elements and I hope I can do it justice with my projects..

Facebook Ephemoire

... An Irish Folder ...

For steps 1,2 & 3 I printed the kit, fussy cut the elements and trimmed the papers then inked around the edges with Tea Dye Distress Ink..
I also decided why not make this folder into a Irish Proverbs and Sayings Book..


The cover of the folder.. I adore this piece of paper and wanted to make it the main feature of the cover..I added a shaker card with the name of the collection Irish Eyes.. 


I love making shaker cards and this was so easy with the gorgeous fussy cut flower from the kit..
I also used the paper to make a shamrock but couldn't help myself I had to put a gold pearl in the middle..


The folder closed and tied with some dyed seam binding..


The front of  the folder opens to an easel card..
I have added little bits of glitter and dimensional magic to the elements on all of the pages 
to give them an extra little pop. 


Under the front cover of the easel card, what a wonderful toast...


Back of the easel card. I think this circle embellishment is gorgeous and covered it in dimensional magic to make it really pop..


The opened folder which opens to a concertina style looks so effective in real life..


The concertina section opened on the front with the easel card sitting up..


Card still opened with the easel card laying down.


The full folder opened on the front with the easel card laying face down...


Back of the folder opened with the easel card closed..


The cover of the folder..


Inside the easel card with the cover opened.. 


 Lots of shine and gloss on this page.. 
I wanted the papers to really shine but still felt it still needed minimal embellishments as in the case of a little piece of lace and ribbon..The flowers have dimensional magic on them and there is a little glitter on the tag which holds the card up..


Page one with the folder cover opened.. As this is such a gorgeous page I only added a little embellishments to highlight it.. Isn't that butterfly wonderful..


Page two inside from the front . I placed the heart with 3D foam tape on top of the paper ribbon to give it some dimension.. The lady in the frame I covered with glossy accents to give 
the illusion of glass.. 


Inside front page three .. I turned the flower to the back and using a flower ball tool shaped the flowers and then placed 3D foam tape under it to make it stand out.


Page four inside front and how gorgeous is this piece of paper!  I created the shamrock and placed it over a feather to match her hat..


Inside front page five. I actually love this page. 
The tags and pockets are in the kit for you to fussy cut and how brilliant do they look.. 


I fussy cut the stars and Irish Eyes from the name of the paper for the tags..


Turning over the folder is page one from the back which has a pocket for tags, I thought blarney was perfect for the cover of this pocket.


Tags from the pocket.


Back of the tags..


Page Two of the back.. (love this page).. I coated her hair band and buttons in dimensional magic. I added pearls to her hair band and glitter to her buttons.. 


Page seven on the back.. I placed 3D foam tape under the heart to give it a little height then sprinkled a tiny amount of glitter over glossy accents on the shamrock..


Back of the folder, I kept this simple as this is the back of the folder and will have lots of use..


Top view of the folder..


I really do hope you like this folder and that I have done justice to the papers..

I hope I have inspired you
to create glorious things..
Hugs 
Donna xx

Monday, 1 April 2019

Mermaids Wanted - Rick St Dennis

Hi all,
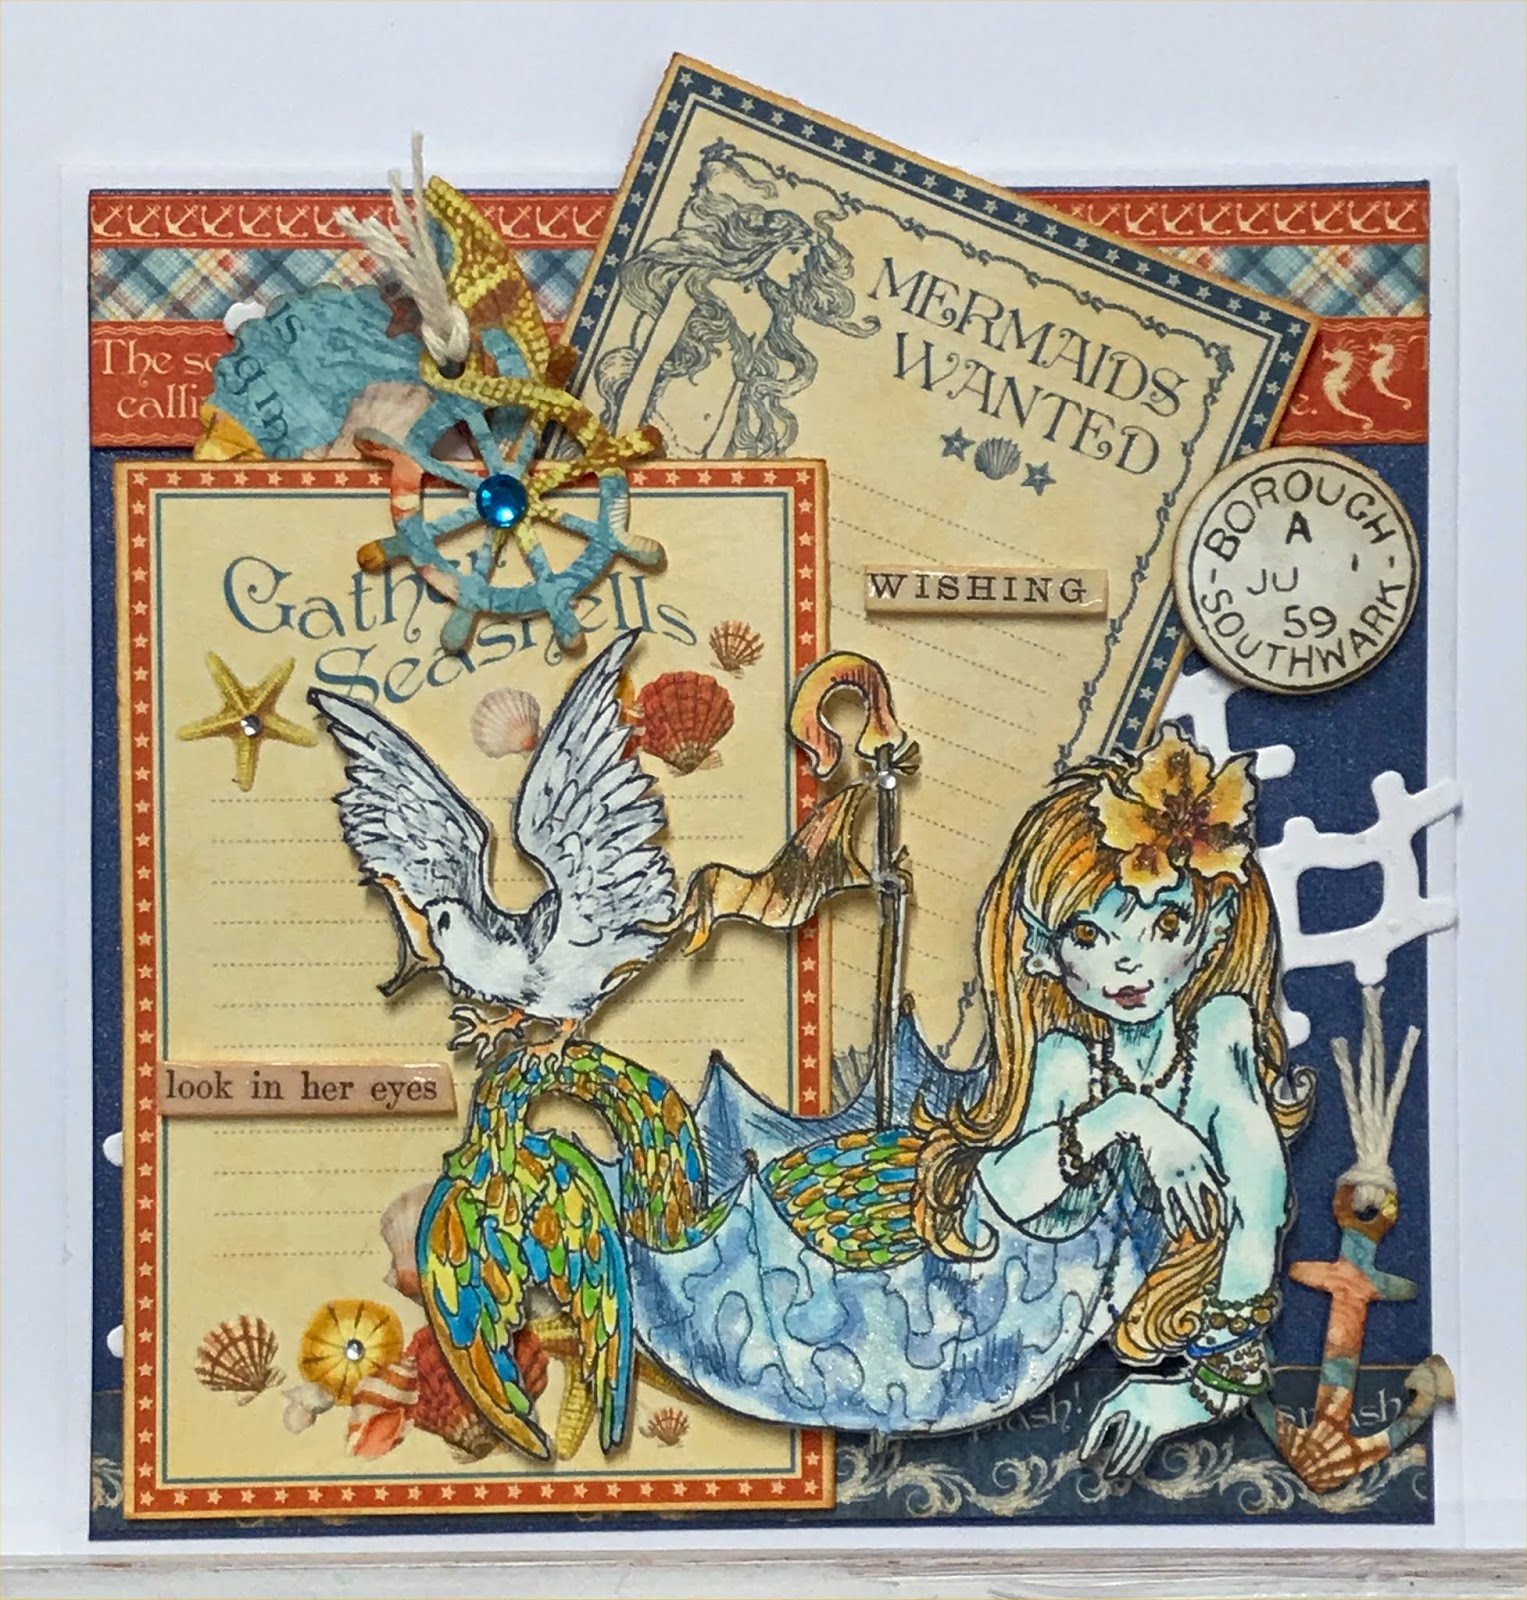
I have a gorgeous digital image by Rick St Dennis and look what I created with her..
Isn't she just wonderful!!


Graphic 45 papers and a Netting die by KaiserCraft is all you really need for this little mermaid.. 


Coloured in watercolour (Distress Ink) and a little die-cut wheel and that's it..


I love this little seagull..


You can purchase the image from Rick's shop Here

And don't forget to have a look at Ricks facebook page /rickstdennisdigifansandfriends/HERE

I hope I have inspired you
to create glorious things
Hugs
Donna xx

My FaceBook page Donna's Fun Stuff HERE 
My Pinterest page Donmaree HERE
My Instragram page Donna.Triffitt Here

Thursday, 2 August 2018

A Tulip Shaker Card - HCP

Hi All,
How pretty is this  gorgeous image from HeartPaperCraft..

I created a shaker card using this wonderful Tulip available HERE
You can also buy the Birthday Wishes sentiment there as well..

Don't forget to go to the gallery HERE to check out all the wonderful art projects, you will be blown away with all the creativity the ladies have..


I have used on this pretty card: Watercolour paper, Distress Ink markers, Nuvo Crystal Drops, Dcwv ' The Sweet Stack paper pad, Embossalicious - Floral Frenzy embossing folder, Kaisercraft -Love Notes Collection Paper, Sequins, Ek Success butterflies..

I hope I have inspired you to create Glorious things..
Thank you for stopping by..
Hugs
DONNA xx

Tuesday, 24 July 2018

Kawaii Kuties Sheet One - ATC COINS Pocket Book -Rick st Dennis -DT

HI all,
I love this new digi image set 'Kawaii Kuties' that Rick st Dennis has created.
They are so Kutttteee..

You can buy these gorgeous digi images HERE
and don't forget to join in the fun on Facebook - Rick St. Dennis Digi Fans & Friends HERE

 KAWAII is CUTE in Japanese, did you know that!!

I decided to make a little book with pockets to hold some of my ATC Coins that I made with the Kawii Kuties digi images.  I had seen this design on You Tube some time ago and thought it would be perfect for this..
 I have to be honest I did 'muck' up with the spine but hey what is crafting without a mistake or two lol..

The Finished Pocket Book..


The ATC Coins in the pockets..


How Kute are these..


I cut a 6 1/2 inch x 3 1/2 inch piece of double sided cardstock. Score at 3 inches and 6 inches, turn and score 1/2 inches.
Cut as shown.. Using a 2 1/2 inch punch cut a circle from the side with the tabs.
(tip: punch a circle from scrap paper and draw around it).
Ink around all the edges with Black Soot Distress Ink. 


I was going to use this paper but after cutting it I didn't like it with the ATC Coins so changed it to the L'aquarelle Designs cardstock from Ultimate Crafts..


The spine is 2 3/4 inches x 9 inches, this will hold 5 pockets.
Fold 1 inch from each end and at 1/2 inch in between the ends as shown..


Cut the cover at 7 1/2 inches x 3 1/4 inches, Score at 3 1/4 and 4 1/4.
Place some ribbon on the front as shown before adhering the mats on..


All the bits together..


I cut some acetate to fit over the hole and used double sided tape to adhere it to the inside flap as shown.. (tip: If there is some adhesive showing around the sides, using your finger, dip in powder and rub around it). This will stop the pocket sticking together ..


Put the pocket together by folding the tabs over and adhering together as shown in picture.. I have the opening to the side..  


The mats are 3 inches x 3 1/4 inches - cut 4 
Spine mat is 3/4 inch x 3 1/4 inches - cut 2
Adhere as shown.


After placing the spine mat down on the inside adhere the folded spine as shown.


Add the inside cover mats.


Adhere the pockets with the opening on the sides.


The Front cover..


The book finished..

Check out some of my other sites as well..
  Facebook Group  HERE
Youtube HERE
Pinterest HERE

I hope I have inspired you to create Glorious things..
Thank you for stopping by..
Hugs
DONNA xxx