Showing posts with label Boxes. Show all posts

Monday, 27 November 2023

Cookie Box - CC

 Hi all,

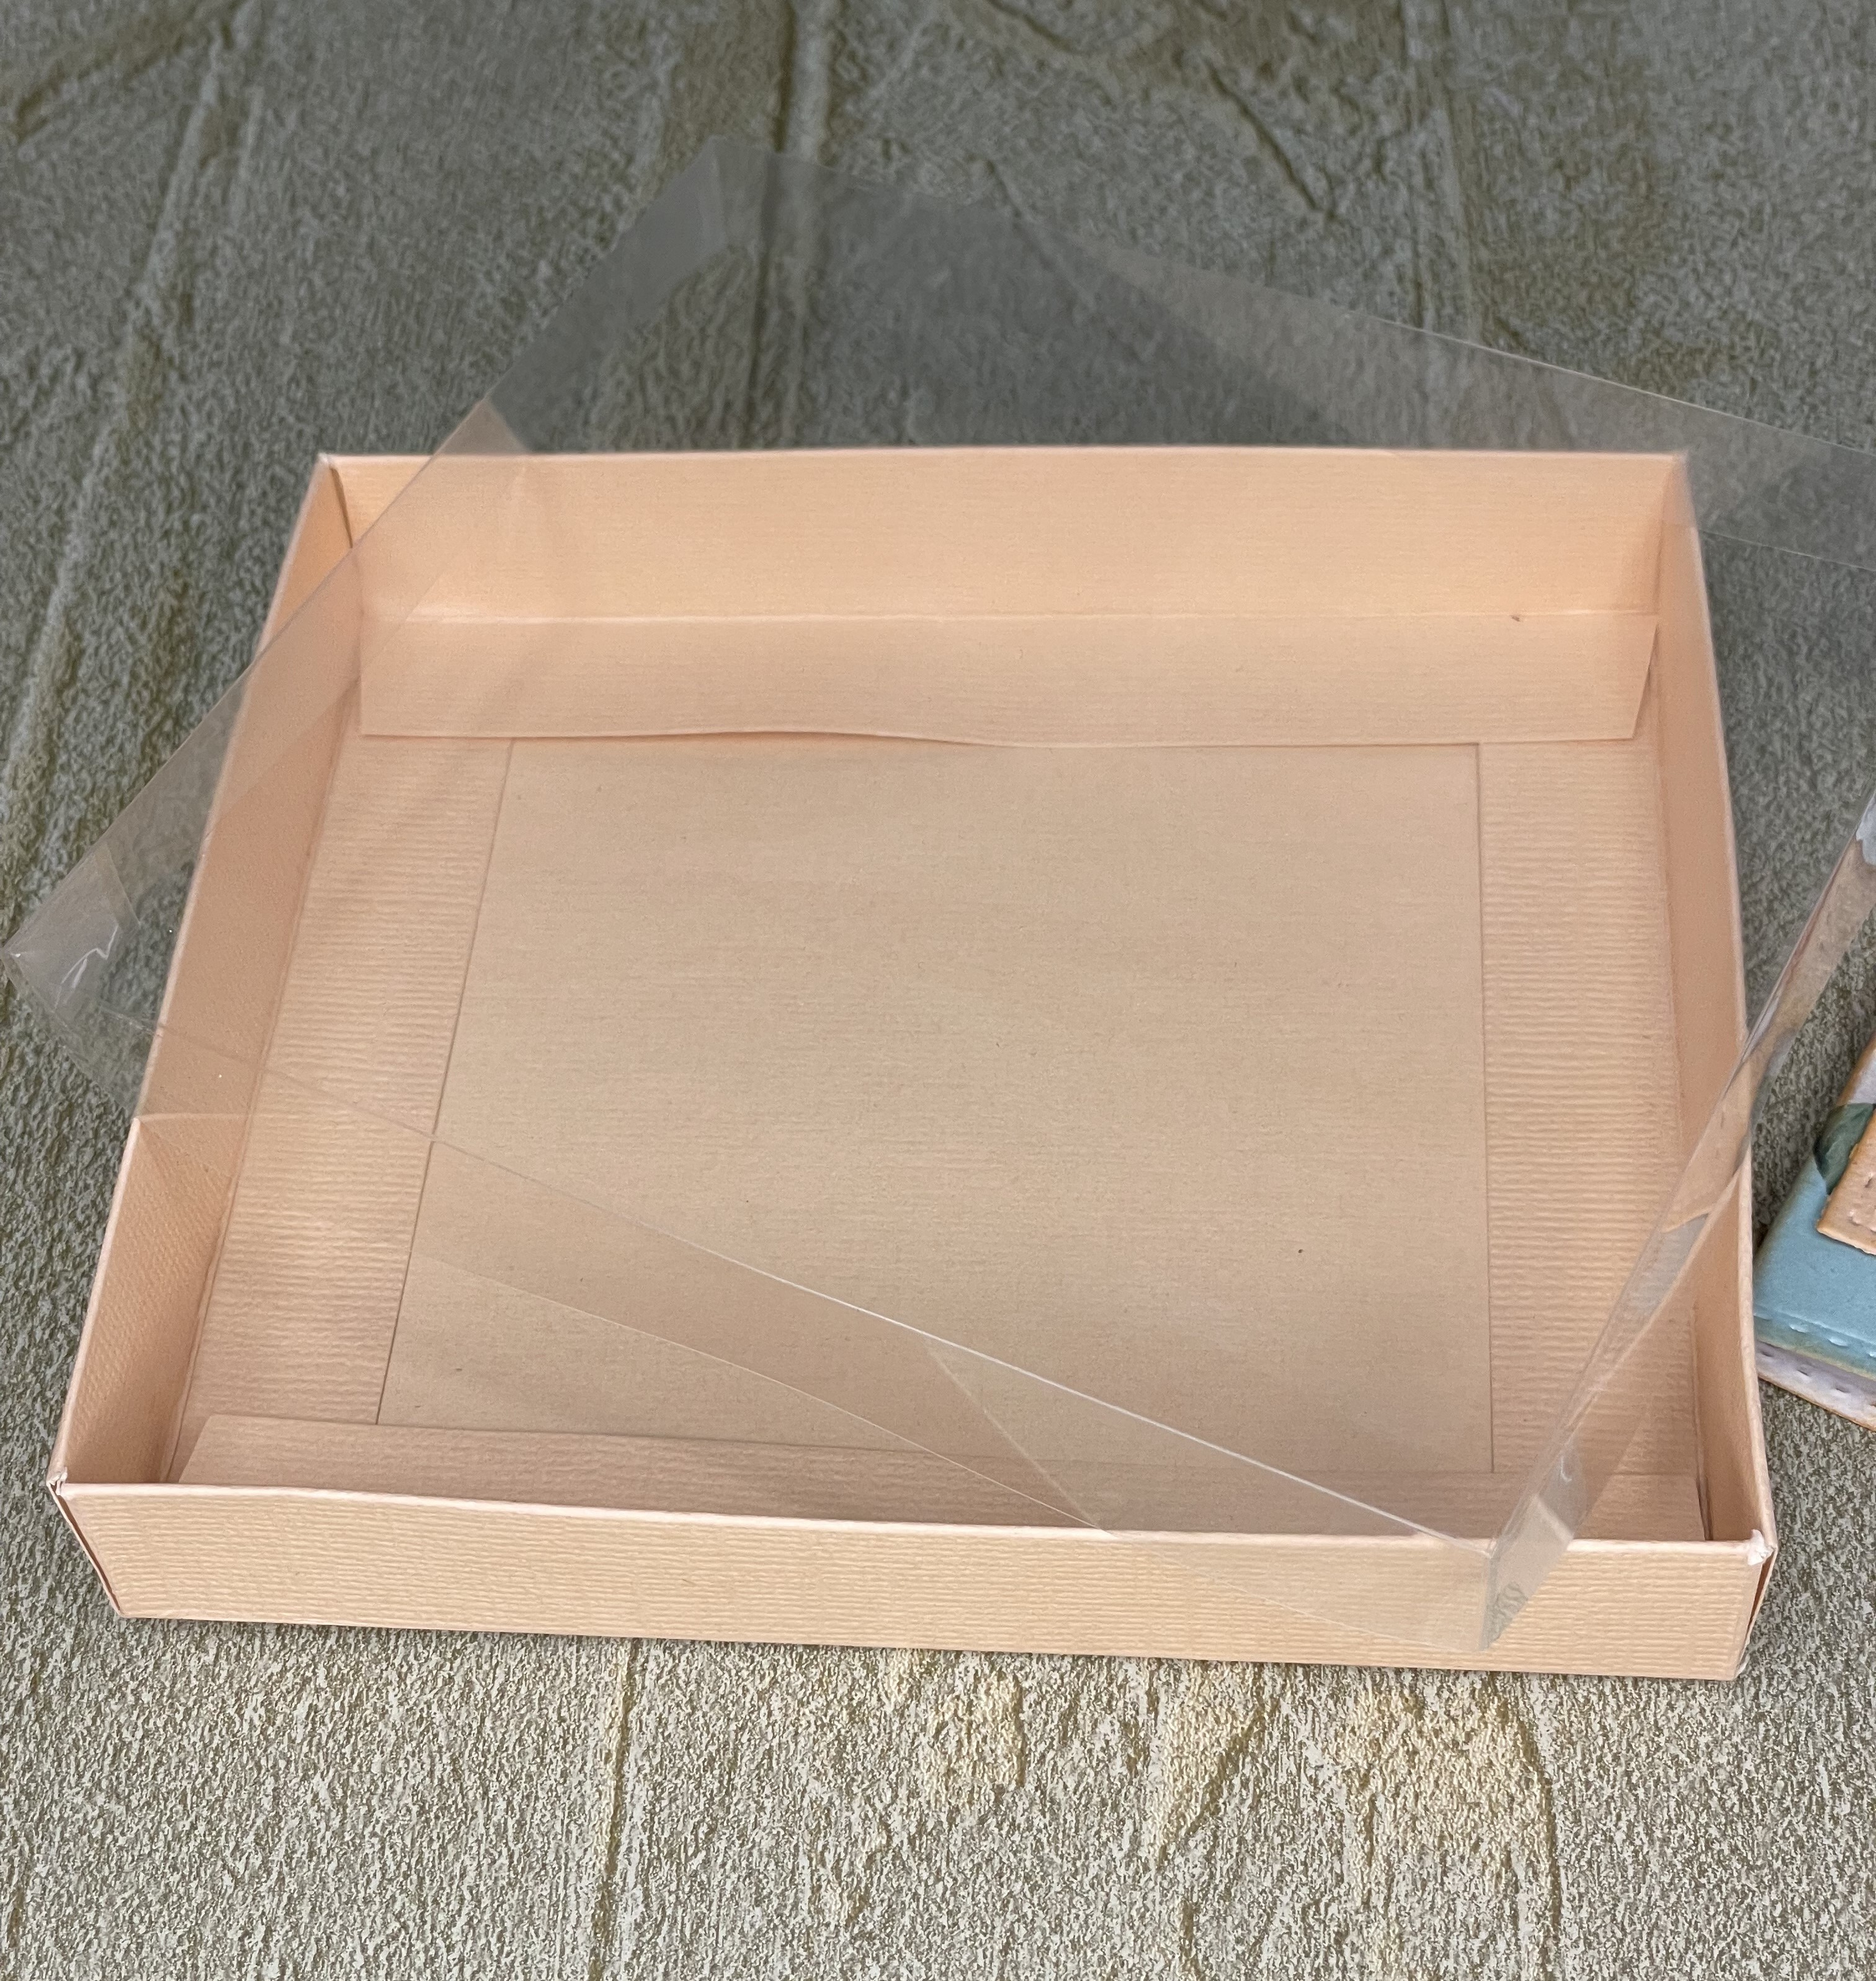
I wanted to show you how easy it is to create something from mixed collection. I used the Earthy Delight Collection and the Street Smarts Collection. I had these cookie boxes in my stash for ages and thought why not cover one in these collections and give to my golf crazy cousin filled with my choc chip cookies..

I don't have dimentions as each box is a different size. So, I covered the box only doing half of the sides as they fold in and also the base of the inside just to make it pretty..  Adding the golf pushout on the side and 'you are my favourite person' ephemera piece on the 3D foam circles. I also added the gloves, 'wishing you a happy birthday' and the chess set also from the ephemera set on the box. It really is nicer in person. I fussy cut the leaves and also have a grass punch in my stash which I used with vellum. SO nice..


 I hope I have inspired you

to create glorious things
Hugs
Donna xx

For Stockists click the link below:

  https://couturecreations.com.au/
My Blog: http://funtobehadhere.blogspot.com/


CO7728941 Pushout 02

CO728912 Double Sided Foam Dots

CO723623 Sponge Dabber Set

CO728902 Earthy Delights Collection A4 Cardstock

CO728967 Ephemera Set

CO724574 Applicator Bottles (brilliant)

CDEIPU028 Card Deco Essentials Fade Resistant dye ink Brown.

CO728540 3D Crystal Accents

CO728469 Pick Up Stick


CO725716 Magnetic Platform 

CO727860 Glass Mat Art Shed Angel 

CO728463 Glue and Resin Eraser

CO727162 Precision Tweezers 


CO723899 Adhesive 3D Foam Tape


Monday, 18 September 2023

Box of Notecards -CC

 Hi all,

Today I am going to show you how I created this box with four notecards with the Street Smarts Collection.

From the brown dot paper cut 9 1/4 inches x 7 1/2 inches. On the 9 1/4 inch side score at 1 1/2 in,         2 1/2 in, 6 in , 7 inches Turn and score at 1in, 2 in, 5 1/2 in, 6 1/2 in  Cut as shown

Cut mats and adhere as shown. Fold up and adhere tabs. (once the box is folded it is easy to see where the tabs are to be glued). I used the Pushout Cycling for the front of the box adhering with foam squares. 


I made four envelopes and used the same paper as the box for the closures. Cards are cut at 6 inches x 3 inches and folded in half. I coloured the stamped images with Twin Tip Alcohol Markers on Synthetic paper and die cut them out with the stamp and die sets.


 I hope I have inspired you

to create glorious things
Hugs
Donna xx

For Stockists click the link below:

  https://couturecreations.com.au/
My Blog: http://funtobehadhere.blogspot.com/


CO728408 Checkerplate stamp

COAPC2 Twin Tip Alcohol Ink Marker Case and markers

CO724157 Onyx Premium Adhesive Gemstones

CO728960 Basketball Stamp and die set

CO728961 Cycling Stamp and die set

CO728965 Motorcross Stamp and die set

CO728964 Football Stamp and die set

CO7728941 Pushout 01

CO728912 Double Sided Foam Dots

CO727338 Synthetic Paper White

CO723623 Sponge Dabber Set

CO728902 Earthy Delights Collection A4 Cardstock

CO724574 Applicator Bottles (brilliant)

CDEIPU028 Card Deco Essentials Fade Resistant dye ink Brown.

CO728540 3D Crystal Accents

CO728469 Pick Up Stick


CO725716 Magnetic Platform 

CO727860 Glass Mat Art Shed Angel 

CO728463 Glue and Resin Eraser

CO727162 Precision Tweezers 


CO723899 Adhesive 3D Foam Tape


Saturday, 2 September 2023

Tea Box for Vellum Tea Bags - CC

 Hi all,

I made some tea bags awhile ago with the fantastic Earthy Delights vellum from Couture Creations and I thought why not a tea box to put them in.. My sister in law gave me a box of my favourite tea bags I am straight away thanks Lynne I appreciate the box and promptly took the tea bags out of it..Yep she was confused for sure hehe.

I pulled it apart gently and measured around it so I could make more if I wanted so this became my template. Using the wonderful papers from the collection I cut out the right and left separately and adhered them together for a stronger join.


Inking around it all gave it an aged look which I really loved. I placed some cardstock that matches the collection for extra sturdiness and it worked a treat.


How brilliant does this look! I used minimal decorations and I think the tea box is usable if I wanted it.


I placed a epherma on top of the box and front and used a piece of trim to keep it shut. So happy with how it turned out.. 


 I hope I have inspired you

to create glorious things
Hugs
Donna xx

For Stockists click the link below:

  https://couturecreations.com.au/
My Blog: http://funtobehadhere.blogspot.com/


CO728877 Earthy Delights Collection

CO728878 6.5 x 6.5 Earthy Delights Paper Pad

CO 728887 Earthy Delights Ephemera Set

CO728903  Earthy Delights Vellum Paper 8" x 8"

CO728912 Double Sided Foam Dots

CO723623 Sponge Dabber Set

CO728902 Earthy Delights Collection A4 Cardstock

CO724574 Applicator Bottles (brilliant)

CO728736 Hot Foiling Pen

CDEIPU028 Card Deco Essentials Fade Resistant dye ink Brown.

CO724845 Square Cards and Envelopes 135mm x 135mm

CO727378 Premium Adhesive Pearls Gold

CO724157 Premium Adhesive Gemstones Onyx

CO728540 3D Crystal Accents

CO728469 Pick Up Stick


CO725716 Magnetic Platform 

CO727860 Glass Mat Art Shed Angel 

CO728463 Glue and Resin Eraser

CO727162 Precision Tweezers 


CO723899 Adhesive 3D Foam Tape


Thursday, 20 July 2023

4 Drawer Box Easel Card-CC

 Hi all,

How are we all doing in the middle of winter?  It is cold down my end that's for sure.. Today I am showcasing the wonderful goodies of the Earthy Delights Collection from Couture Creations.. This collection is such a clean looking collection that you could use any colour papers to be an accent, wonderful!!

I have made a 4 drawer box which I totally loved.. So join me in creating with this paper collection.

I love shortcuts so I brought some already scored cards 135mm x 135mm from Couture Creations as my base. I folded one in half as shown and cut another card in half (keep the other half for another project). I decorate the front of the card before adhering it to the half fold. (you only need to adhere the bottom half of the card front).


I used a die to make the matchboxes and covers but there are a lot of tutorials to make them. I made a few different ones with a 6" x 6" piece of cardstock that I scored 1" on all four sides then cut a slit on each four sides to the score lines to then fold up to give a matchbox.
 
Cut four mats measuring 5/8" x 1 7/8" for the front of the drawers & four mats measuring 5/8" x 2 1/2" for the sides of the boxes. Ink around edges. Inside mats are 1 7/8" x 2 1/2". 


Decorate the front with the gorgeous papers, dies and ephemera pieces to finish.


As you can see here in this photo, only the bottom half of the front panel is adhered . 


 I hope I have inspired you

to create glorious things
Hugs
Donna xx

For Stockists click the link below:

  https://couturecreations.com.au/
My Blog: http://funtobehadhere.blogspot.com/


CO728877 Earthy Delights Collection

CO728905 Earthy Delights Fern Leaves Stencil

CO728888 Earthy Delights Embossing Folder

CO728878 6.5 x 6.5 Earthy Delights Paper Pad

CO 728887 Earthy Delights Ephemera Set

CO728897 Earthy Delights Stamp & Dies Single Leaf

CO728896 Earthy Delights Stamp & Dies Decorative Pots

CO728895 Earthy Delights Stamp & Dies Feather

CO728892 Earthy Delights Stamp & Dies Tropical Leaves 

CO728903  Earthy Delights Vellum Paper 8" x 8"

CO728912 Double Sided Foam Dots

CO723623 Sponge Dabber Set

CO728902 Earthy Delights Collection A4 Cardstock

CO724574 Applicator Bottles (brilliant)

CO728736 Hot Foiling Pen

CDEIPU028 Card Deco Essentials Fade Resistant dye ink Brown.

CO724845 Square Cards and Envelopes 135mm x 135mm

CO727378 Premium Adhesive Pearls Gold

CO724157 Premium Adhesive Gemstones Onyx

CO728540 3D Crystal Accents

CO728469 Pick Up Stick


CO725716 Magnetic Platform 

CO727860 Glass Mat Art Shed Angel 

CO728463 Glue and Resin Eraser

CO727162 Precision Tweezers 


CO723899 Adhesive 3D Foam Tape


Wednesday, 11 January 2023

Wallet Card and Box

 Hi all,

Now I am sooooo loving the Elegance Collection that I made a wallet card and a box to place it in.. Of all the projects I have created with this collection I have to be honest this is my favorite. 

I have been using up my dies from Snazzie scrappin  in my stash to show you that any die you have can be used with this paper collection. So pretty.. 

The front of the wallet, how wonderful is that and I just love the stamp set that is a part of this collection. How nice does it look. I teamed it up with a matching ink to the paper and a box ephemera piece from the Lavender Love Collection.

It's hard to see on the photos (you can see it on the video) but I have used the new Foiling Pen and the gold heat foil from Couture Creations on the box and it is beautiful.. 


See how pretty this is inside.. I did not want to cover up the rose as I adore this piece of paper so I left it as is.. A gift card, note and some money and what a wonderful gift this makes. And why can't women have pretty wallets, I do... 


I seen this box that was created by a lady called Nicole from Snazzin Scrapper and thought yep I have to so do this.. so I created a short video on how I did it but if you want a more in depth one please go and watch Nicole's..  


Now C'mon how pretty is this gift.. I would be honored to receive it.. 


Video on how to create the box... 

 I hope I have inspired you

to create glorious things
Hugs
Donna xx

For Stockists click the link below:

  https://couturecreations.com.au/
My Blog: http://funtobehadhere.blogspot.com/


CO728831 Elegance Collection Ephemera Set

CO728820 Elegance Collection Kit - foiled ephemera pieces

CO728849 Just For You Mini Sentiment Stamp & Die Set

CO728368 You Go Girl Sentiment Stamp Set

CO728748 Lavender Love Ephemera Set

CO728736 Hot Foiling Pen

CO725353 Adhesive Pearls - Soft Peach

CO725382 Adhesive Pearls - Soft Green

ULT200056 Canteloupe Cardstock

CO728469 Pick Up Stick


CO725716 Magnetic Platform 

CO727860 Glass Mat Art Shed Angel 

CO728463 Glue and Resin Eraser

CO727162 Precision Tweezers 


CO723899 Adhesive 3D Foam Tape


Thursday, 25 August 2022

Boxx - CC

 Hi all,

Today I have a box I made using Twin Tip Markers and the gorgeous Vintage Blooms Set created by Couture Creations and Kit and Chowder.

I stamped lots of the stamps on the blending card and cut out the box shape using a die. Adhere the box together with the CO726325 Quick Dry Adhesive

I then fussy cut a section of the scrap card to place on the front of the acetate in the centre of the box and made a flower to adhere to that. A few bling and glitter and voila the box is done ready for some special trinkets.


  I hope I have inspired you

to create glorious things
Hugs
Donna xx

For Stockists click the link below:

Materials: 

CO728475 Stamp and Colour Outline Pad Black 

CO726325 Quick Dry Adhesive

CO728515 Turbo Tacky Glue

CO728577 Tulip Stamp and Colour Set

CO728574 Peony Stamp Colour Set

CO728575 Rose Stamp Colour Set

CO728576 Daffodils Stamp Colour Set

CO728578 Sunflowers Stamp Colour Set

CO728094 Stamp Cleaner 

CO727749 Acrylic Block Set

CO725716 Magnetic Platform 

CO727860 Glass Mat Art Shed Angel 

CO727162 Precision Tweezers 


Tuesday, 9 February 2021

Hugs & Kisses Box Frame - CC

 Hi all,

My turn on the blog today and I have a project to show you that I love. It is a box frame that I haven't done for ages and I knew this paper was perfect for this..

BLOOMING FRIENDSHIP


Cut a 24 x 25 cm panel and cut an aperture in the centre leaving 5cm on all four sides. (I drew a line as you are not going to see this to make it easier).

Cut another panel at 24 x 25 cm and score at 2.5cm and 5 cm on all four sides. 

Cut away the three squares marked with a cross.


Cut as shown.


Fold the box as shown and glue the tabs on the out side. 


I measured the Papers 4 the same as the first panel and cut the centre out. The actual centre piece fits beautifully in the centre of the box.


Adhere this onto the top of the box flaps.


I did some extra stamping on the centre piece for the box doing a second generation so it was very light.


As soon as I seen the Crackle die I was going to do this. Using a pallet knife I spread some texture paste and used the Crackle die as a stamp to give it the shape as on the paper.
Once the paste dried I then went over it with ink to darken the cracks.


The finished frame with lots of stamping, fussy cutting  and making my own roses. 


I placed different amounts of 3D foam under the extra roses to give them different heights. 


Fussy cutting and my rolled roses.


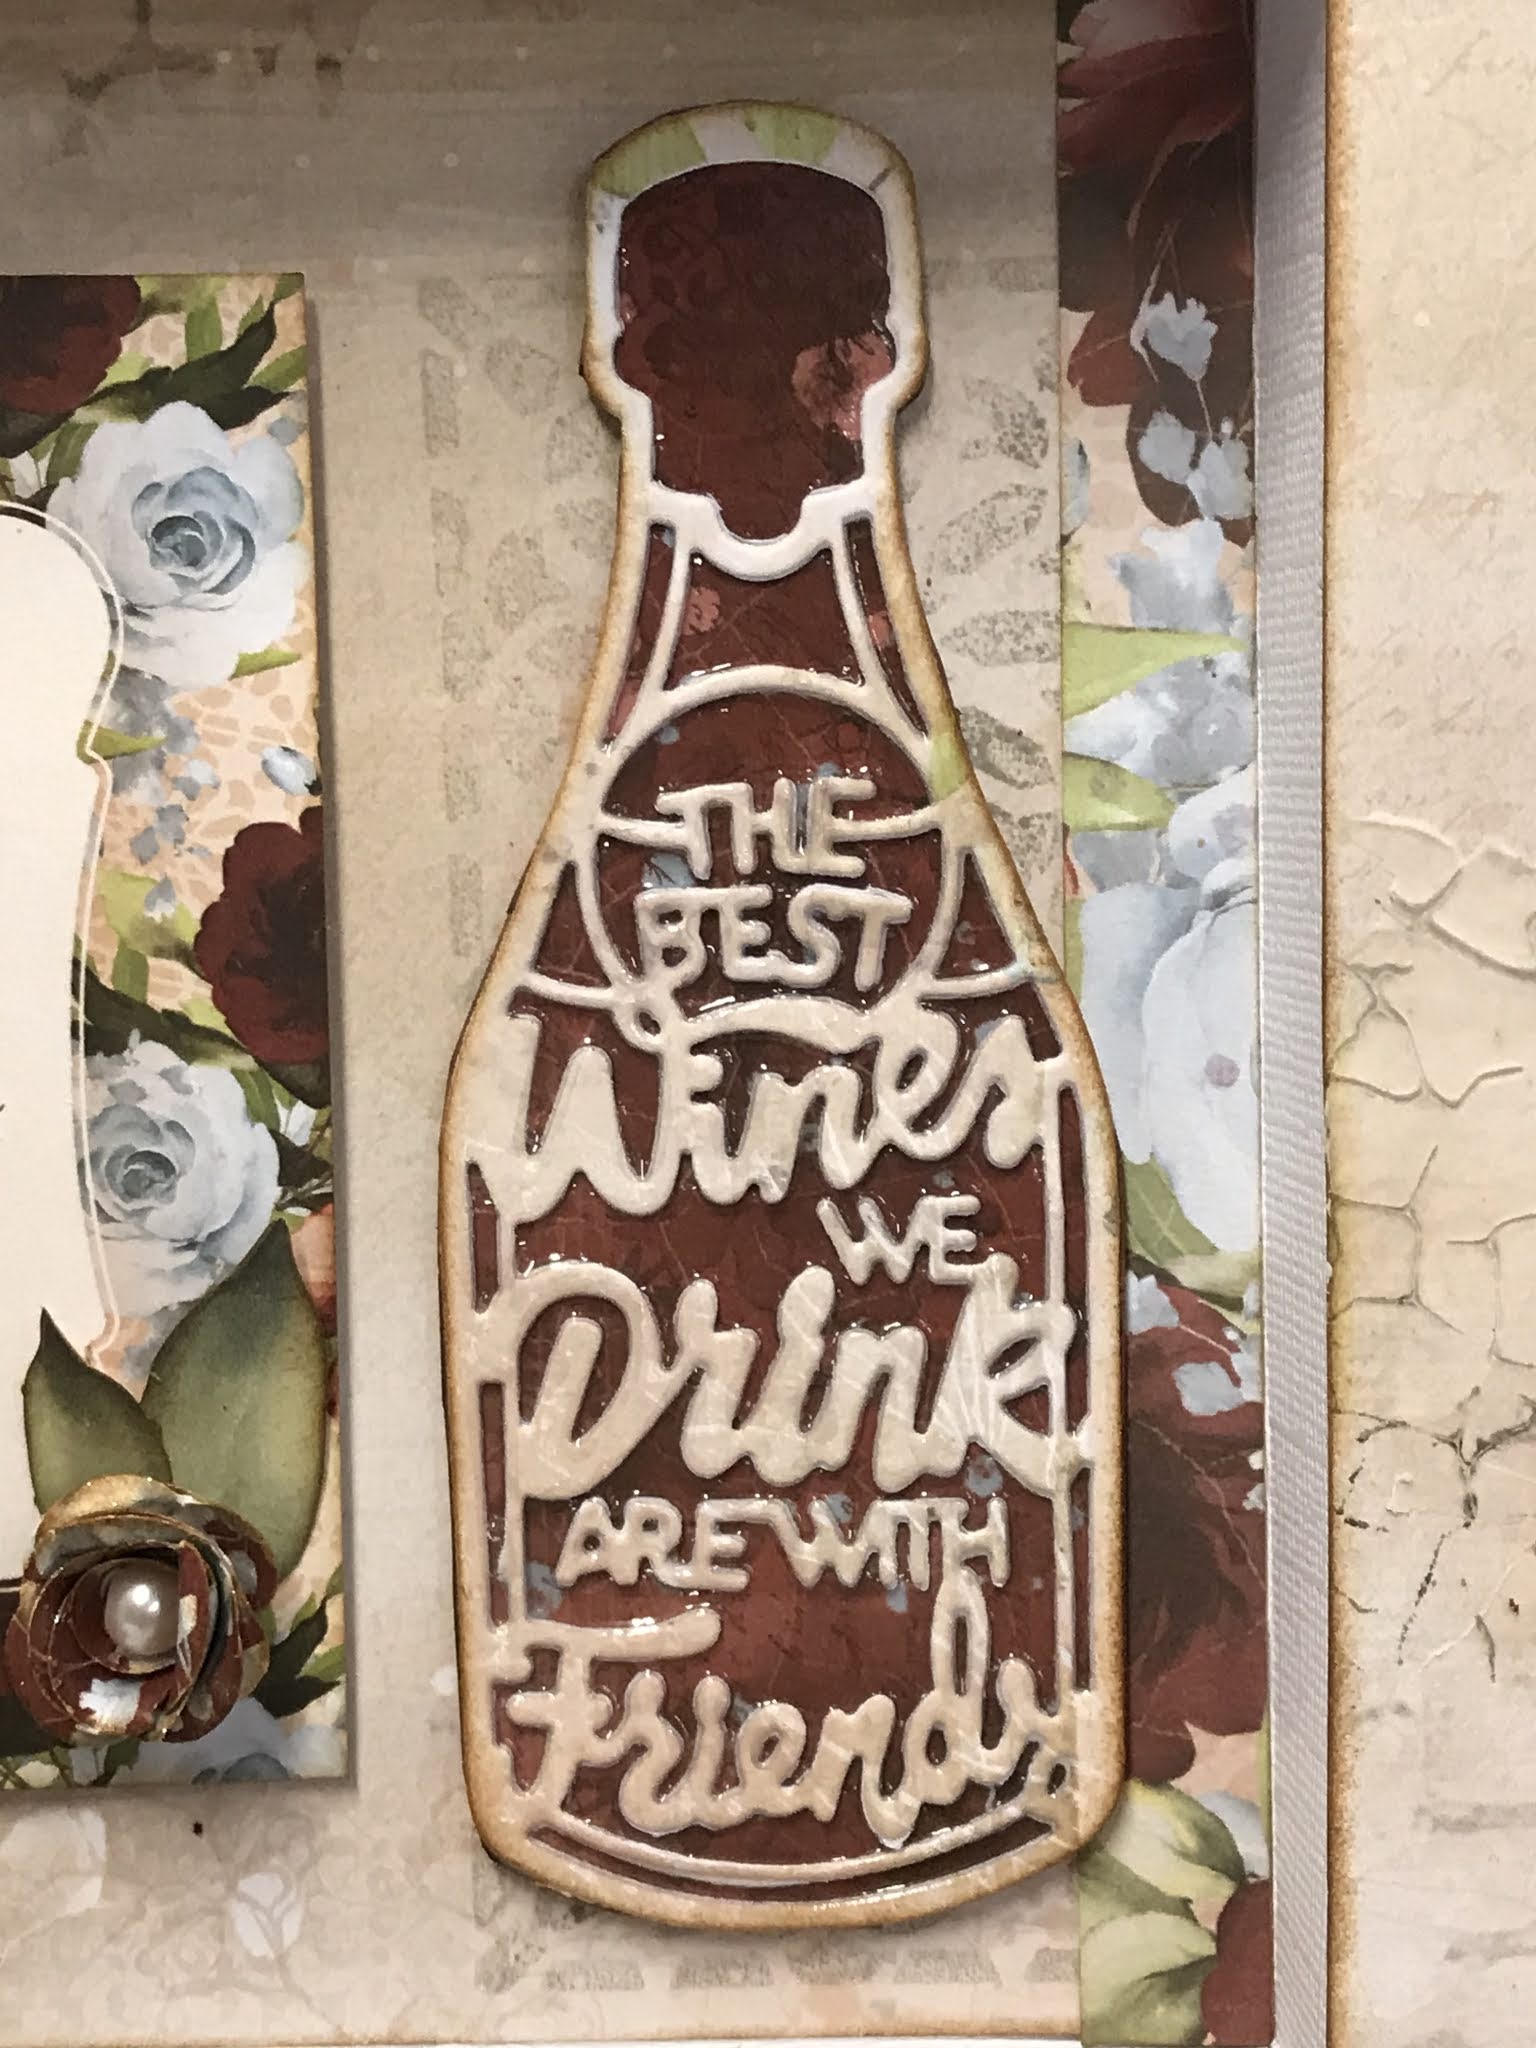
I love this saying so used it as a main feature.


The wine bottle was die cut and then traced around and fussy cut for the background. Though you cannot see it there is lots of dimensional magic over the bottle to give the appearance of glass..


A little rolled rose from scrap paper.


A stamped and fussy cut chocolate cucake. 


A close up photo of the crackle which I thought turned out brilliant.


 I hope I have inspired you

to create glorious things
Hugs
Donna xx

For Stockists click the link below:

  https://couturecreations.com.au/
My Blog: http://funtobehadhere.blogspot.com/


Blooming Friendship Paper Collection - CO728099

Blooming Friendship Ephemera Set - CO728107

Blooming Friendship Leaf Mosaic Stamp - CO728127

Blooming Friendship Floral Mosaic Stamp - CO728126

Blooming Friendship Chocolate Cupcake Stamp - CO728124

Blooming Friendship With Friends Die - CO728120

Blooming Friendship Swirling Cupcakes Die - CO728114

Blooming Friendship Crackle die - CO728114

Stamp Cleaner - CO728094

Acrylic Block Set - CO727749

Adhesive 3D Foam Tape - CO723899

Magnetic Platform - CO725716

Glass Mat Art Shed Angel - CO727860

Precision Tweezers - CO727162

Adhesive 3D foam Dots - CO723780